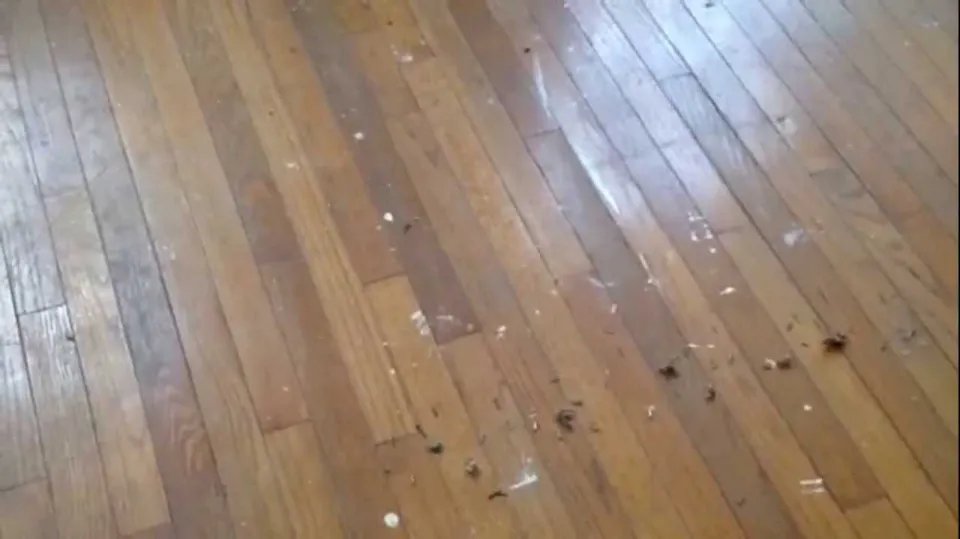
The sanding process is one of the longest parts of restoring hardwood floors. Your hardwood floors may also sustain damage during the sanding process. Hardwood floors can become irreparably damaged if they are refinished too frequently.
Wood floors can be repaired without being sanded by recoating, either mechanically or chemically.
Are there any alternatives? Read on to find out.
Can I Restore Hardwood Floors Without Sanding?
No, sanding is not necessary to restore hardwood floors. In many cases, it’s the better alternative, anyway. A full restoration is only really necessary if your hardwood floors are significantly worn, stained, or damaged.
You can restore hardwood floors using a variety of alternatives. We’ll look at some of them in the sections that follow.
3 Inexpensive Ways to Refinish Hardwood Floors
1. Using a Store-Bought Abrasion Kit
| Pros | Cons |
| All the essential components required to successfully refinish the hardwood floors are included in the abrasion kit. | Using the kit is a two-person job, so ask your friends to lend a hand for a quicker and more effective refinishing project. |
| Since this method does not involve heavy sanding, which produces dust, you do not need to be concerned about debris flying everywhere. | Because the finish almost immediately dries, it is crucial to apply it quickly. |
Online or at your local home improvement store, chemical abrasion kits are easily accessible. All kits come with the necessary tools for a quality flooring finish, despite the manufacturer’s choice of name.
The old finish is etchered off the floor using a special chemical in this technique, allowing the new finish to adhere. A fresh coat will then be applied to bring back the floor’s luster. All kits come with an easy-to-follow manual to ensure that you’re doing it right, but here is a quick step-by-step guide to help you complete the refinishing process effectively:
- Remove all furniture, decorations, and other objects that might obstruct your work from the room.
- Scrub the floor after using the liquid abrasive. The abrasive pad can be attached to a broom handle, but it can also be applied by hand. Just make sure to wear protective gear and clothes that you don’t mind ruining.
- Clean the floor with a gallon of water mixed with two tablespoons of dishwashing liquid. To avoid causing water damage to the floors, make sure the mop you are using is only very slightly damp.
- Apply more stain to the area to match the floor in deeper scratches. Blot it with a rag to blend the colors. Apply a thin layer of the finishing coat from the kit after the stain has dried.
- Apply a fresh finish to the floor. Quickly finish this step because the solution dries out quickly and makes the finish challenging to smooth.
- Be patient as the finish dries. It usually takes at least 24 hours before the furniture pieces can be brought inside without damaging the new finish.
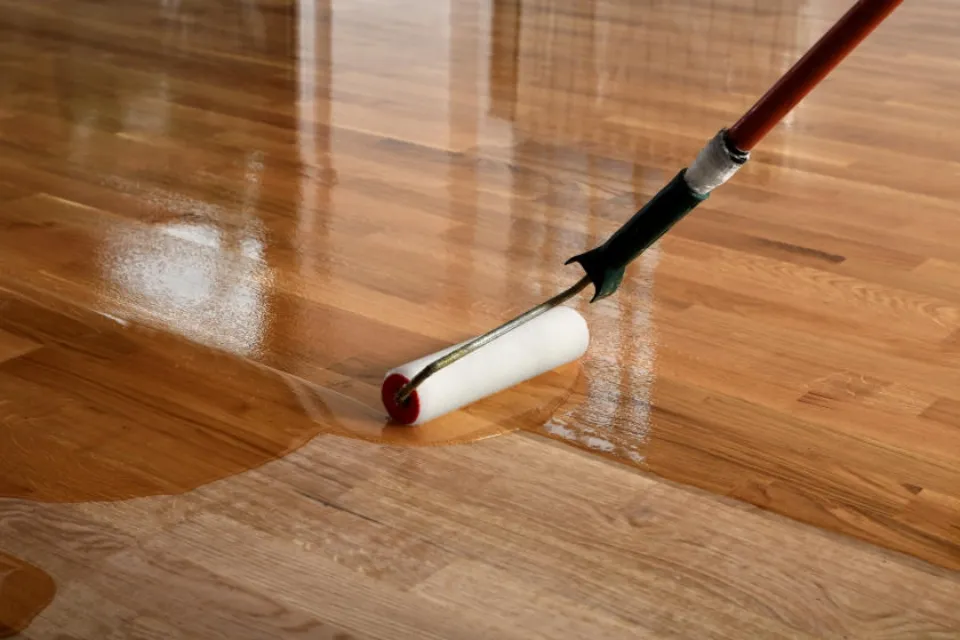
2. Recoating With Polyurethane Solution
| Pros | Cons |
| It will be several years before another refinishing project is necessary because polyurethane coats are durable. | Make sure that all of the furniture is removed from the room and the fixtures are covered with a tarp or fabric because this method creates more dust due to the buffer. |
| This method generates outcomes that are nearly as good as those of a professional refinishing job. | The majority of homeowners don’t own buffers, but you can rent one from a nearby home improvement shop. |
Similar to using an abrasion kit, this step calls for roughing up the floors before applying a new finish. This method calls for renting a buffer from the nearby home improvement store rather than using an abrasive liquid.
Because buffing is similar to sanding, it is messier than chemical kits. Make sure to drape fabric over all fixtures and furniture because it creates a lot more dust. To remove the current finish, however, buffing merely roughens the surface. This allows the new finish to bond better with the hardwood floors. Here’s how you can recoat the floors with a polyurethane solution:
- Plan the project out before renting a buffer from the local home improvement retailer to get the most use out of the purchase. Asking for guidance on how to use the tool also helps.
- Sweep the room and move all furniture pieces to a different area in the home. Cleaning ensures that the floor is free of any gunk that may affect how well the finish will stick on the surface. Make a note of any problem areas on the floor that have a stripped finish, dents, or severe scratches as you clean it.
- After cleaning the floor, apply mineral spirits to the trouble spots to darken them. To better match the grain of the hardwood, use two different stain colors.
- Make sure that the nails are properly sunk before beginning work as protruding nails can harm the buffer.
- Corners of the room and areas close to the baseboard are difficult for the buffer to reach, so it is preferable to rough up these areas by hand.
- Set up a sanding screen beneath the buffer once everything has been cleaned and the room’s edges have been roughened.
- Make sure the work area is sealed off because buffing causes a lot of dust to fly around. Use the buffer while donning a dust mask.
- Vacuum the space and wipe the floors after using the buffer.
- Apply the polyurethane finish to the floor. Use a urethane that is either water- or oil-based.
3. Applying a Revitalizer
| Pros | Cons |
| Applying a revitalizer gloss is the simplest and cheapest way to refinish hardwood floors. | This method performs best on floors that only have minor wear and tear issues and surface-level scratches. |
| You can get the job done without the need for equipment rentals or hard-to-find materials. | To achieve the best results, apply the revitalizer gloss frequently. |
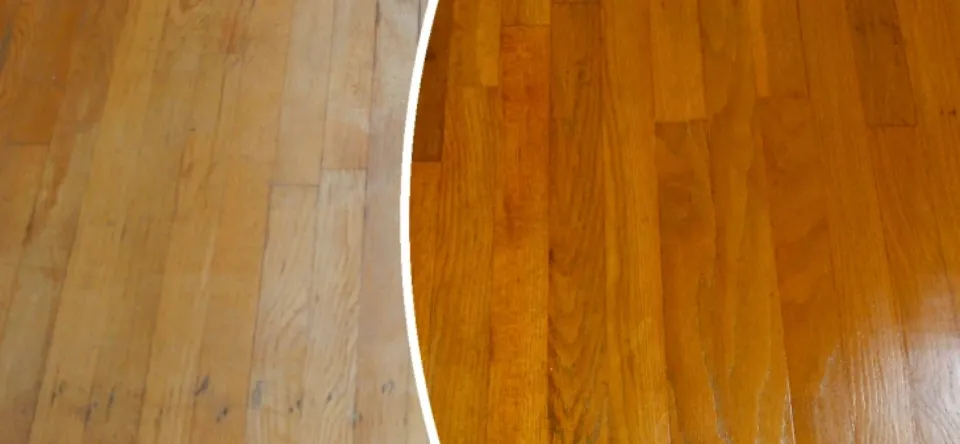
A revitalizer will make the floors appear brand new if there are only minor signs of wear and tear. This solution is available at home improvement stores. It not only fills in the scratches and gives the floors a glossy finish, but it also revives the shine of the worn-out hardwood.
Here’s how to apply a revitalizer gloss at home:
- To remove excess dirt and dust from the floor, use water and vinegar. Ensure to only utilize a damp mop when cleaning so that the wood floors won’t be damaged by water. The revitalizer can more easily penetrate the hardwood’s pores and scratches when the floor has been thoroughly cleaned.
- Apply the revitalizer gloss by following the instructions on the package. Using a mop, distribute the solution uniformly.
- Before returning all the furniture to the room, ensure that the finish has dried first.
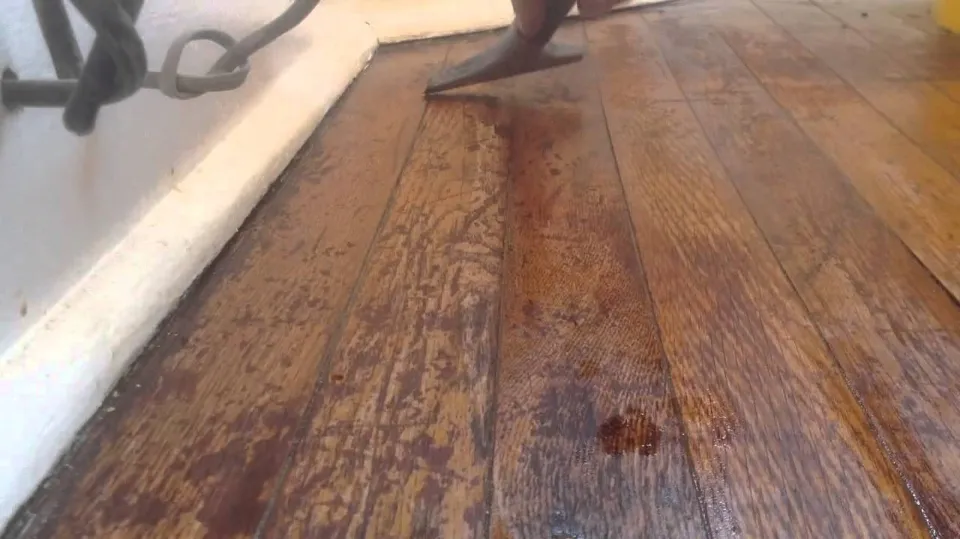
Chemical Restoration of Hardwood Floors
Another method for restoration without sanding is chemical restoration of hardwood floors. You will need a chemical etching kit for this.
Hardwood floors that are not overly scratched or worn respond best to this technique. You are not required to buff or sand. Additionally, wax-finished floors cannot be cleaned using this technique.
- Purchase a refinishing kit from your neighborhood home improvement or hardware store or order one online.
- Get the supplies your kit needs, which will probably include a shop vacuum, a paint tray, painter’s tape, a shoe cover, abrasive pads, a sponge mop, a paintbrush, and possibly other items.
- The floor should be thoroughly cleaned.
- To roughen the floor surface, use liquid etcher and the abrasive pad on your device.
- Mop the floor with a solution of two tablespoons of liquid dishwasher to one-gallon warm water to neutralize the etcher.
- Applying matching stain with an artist’s brush will smooth out scratches. After you’ve dried them with a hairdryer and sealed them with the kit’s finish, use it.
- Use your kit’s applicator pad to apply finish.
Why Refinishing is Better Than Replacing Hardwood Floors
Hardwood is a durable material. It doesn’t have to be changed each time spots and scratches show up. In most cases, all it takes is a good refinishing job to make the floors appear to have been replaced with brand-new ones.
A larger budget is needed to replace the hardwood floors. In addition to paying for the new materials, you also need to pay the workers who removed the hardwood, cleaned up the mess, and put in the new flooring.
However, there are also situations when replacing hardwood floors is better than refinishing the floors in a home project. Water can cause the material to warp and swell in addition to the usual deterioration brought on by scratches and stains. If this is the case, replacing hardwood floors with ones that have been water-damaged is not a wise choice.
Summary
Sanding floors is time-consuming and labor-intensive. Thankfully, sanding is not always necessary when finishing hardwood floors. The options listed here will likely be all you need unless your floor is seriously damaged.
Of course, it’s perfectly acceptable to choose to hire experts to complete the task for you. Compared to amateurs, flooring professionals work more quickly and safely. Consider checking out a pro if the work above sounds too intensive or too complicated. Many intelligent people take that path!
FAQs
Can Wood Floors Be Refinished Without Sanding?
Without sanding, hardwood floors can be restored. In many instances, it’s still preferable to the alternatives. Your hardwood floors should only really need to be completely restored if they are severely scratched, stained, or worn.
What is the Cheapest Way to Refinish Hardwood Floors?
Applying a revitalizer gloss is the simplest and cheapest way to refinish hardwood floors. This method works best on floors that only have minor wear and tear issues and surface-level scratches. Without renting equipment or using difficult-to-find materials, the task can be completed.
Is There An Alternative to Refinishing Hardwood Floors?
The DIY-friendly option on this list is probably applying revitalizer. A revitalizer is a substance created to, well, revitalize your hardwood floors. No new finish is applied during this process, nor is sanding necessary. Simple steps include wiping down the floor with a microfiber mop before applying the revitalizer.
Check the following mop reviews before buying!
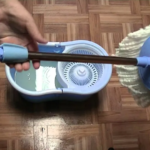
The Mr. Clean Spin Mop heads work best for dust mopping and absorb too much water for wet mopping. But wringing out the mop is extremely difficult.
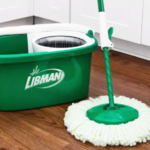
When it comes to surface exposure, the Libman Tornado Twist Mop is a far better option than sponge mops. Even with vigorous scrubbing, you can clean with it effectively.
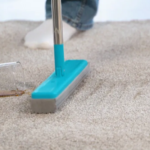
Mighty Thirsty Mop is a quick-absorbing mop made of polymer. Its thin mop head can fit underneath furniture and into other small spaces around the house.
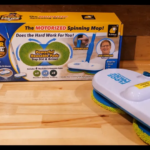
If you have the Floor Police Motorized mop, you can quickly and easily spin away that dirt! The spin mop that does all the work for you is a cordless, lightweight product.
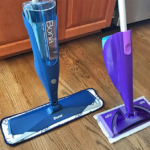
The cleaning efficacy and usability of the Bona Spray Mop are its greatest benefits. Use it to maintain the floors in between more thorough moppings.
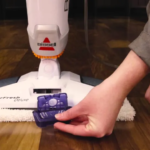
With the Bissell PowerFresh steam mop, you can mop more effectively while saving money and combining convenience and power.
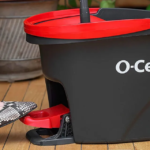
O Cedar Mop is incredibly shaky and spills way too easily. If you have to pick up the clean water tank, it will stop spinning and be inoperable.
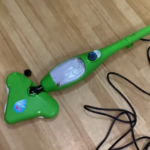
The H20 X5 Mop won our comparison as the most adaptable mop. This mop effectively removed stains from the floor that had been there for several hours.

The Norwex Mop is available in two sizes (large and small) and three different mop pads. The system is easy to use if you follow the directions.
The Shark Steam Mop is a cheap steam mop that does a good job of sweeping and disinfecting floors. This Shark steam mop is a lightweight, simple-to-use steam cleaner.