The tiles are easily installed by aligning them with the proper wall markings and pressing them firmly onto the adhesive.
Although tiling is a relatively risk-free task, it is advisable to use caution as with any DIY project. If you’re going to be chipping away and removing old tiles or cutting new ones, then make sure you have appropriate eye protection. Likewise, if you’re going to be handling tools such as trowels, then you may want to wear appropriate safety gloves. Another choice is a face mask.
Read more to find out the tools to the tile bathroom walls, the best material for the bathroom & how to tile a perfect bathroom wall!
Before You Start: Think Safety
Knowing where any hot water pipes are located inside the bathroom walls can also be beneficial. Any electrical connections follow the same rules. You can quickly locate any pipes if you don’t know where they are by using a pipe locator.
Before you begin working, you might also want to turn off the electricity and water to your bathroom.
What Tools Do I Need for Tiling?
There’s nothing worse than trying to do a job when you haven’t got the right tools for the task. Therefore, before you begin tiling your bathroom, be sure to have the following tools on hand.
Tape measure
Perhaps THE most crucial step in tiling a bathroom is taking precise measurements. If your measurements are off, your job will be a nightmare. Purchase a high-quality tape measure (with clear markings) as soon as possible.
Pencil
Marking up your tiles is also an important part of tiling your bathroom. After all, if you can’t see where you’re supposed to be cutting, you’ll end up with a lot of unevenly cut tiles and off-center holes for pipes and other things. Chinagraph pencils are the best kind to purchase for marking up tiles because they work best on rough, glossy surfaces.
Tile cutter
This is where things get a bit more serious. A tile cutter is a necessary purchase if you plan to tile your own bathroom. The railed tile cutters, which resemble the guillotines used in schools to cut paper and cardboard, are typically the best type, according to our research.
Most variants of tile cutters include a scribe wheel and a breaking arm. There are several different sizes of rail cutters. However, if you’re going to be tiling your bathroom with exceptionally hard tiles such as Quartz tiles, then you may need to use a wet wheel cutter instead, as standard tile cutters won’t be up to the job.
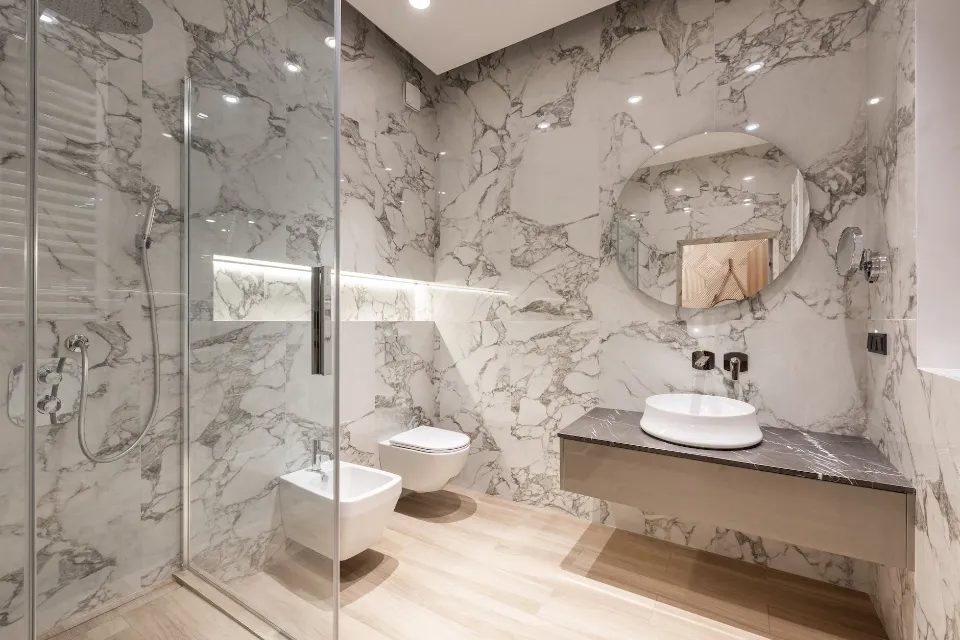
Tile nipper
Tile nippers are a useful accessory, though they aren’t necessarily necessary for tiling your bathroom, especially if you need to make a tricky or precise tile cut. For example, if you’re trying to shape a tile to fit around a pipe, a piece of sanitary ware or a light fitting, then you’ll be grateful that you’ve got a tile nipper to hand.
Tile spacers
You don’t want to spend ages measuring and cutting tiles, only to find that the spacing between them is off when it comes to grouting. You can prevent this specific DIY nightmare by using tile spacers. As the name suggests tile spacers allow you to equally space tiles while you’re fixing them in place. You can purchase tile spacers in a range of sizes to get the grouting finish you want.
Bucket
You will need a container to mix adhesive and grout in while tiling your bathroom. While an old washing bowl will work, you’ll find that things get very messy, very quickly. Instead, you should spend your money on a durable bucket. Depending on how much grout you’ll be mixing, you should purchase a bucket of a specific size, but many people choose either a 10 or 25 liter option.
Mixing paddle
You could simply use an old stick to mix your grout. You certainly can, but if you’d rather simplify your life a little (and who wouldn’t?!), then a mixing paddle is a great tool to have at your disposal.
Notched trowel
A notched trowel is necessary to apply the adhesive to the substrate, which is the part of the wall to which the tiles actually adhere. This piece of equipment is absolutely necessary. Typically made of steel, notches are set into the cutting edge of notch trowels. You can purchase trowels of various sizes with variously shaped notches; if you’re tiling a wall, get a trowel with curved notches. If you’re installing tiles or a floor, invest in a trowel with square notches.
Grout float
Using a grout float will make it easier for you to press grout into the spaces between your freshly installed tiles. They are typically made with a handle on top and a flat rubber base. When applying grout to the gaps, the rubber base protects the tiles from damage.
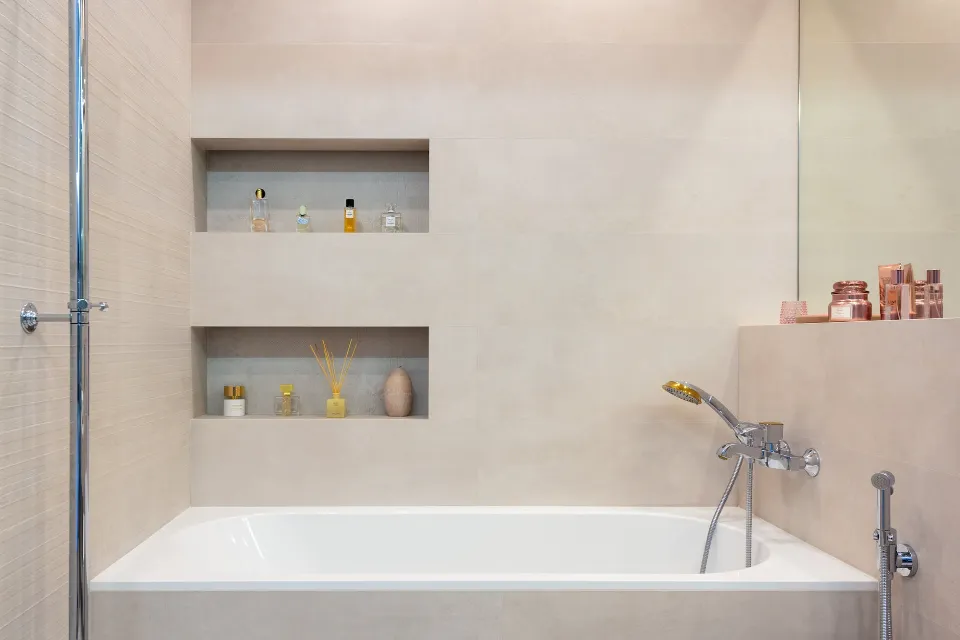
Spirit level
You will find a spirit level to be extremely helpful when planning your tile layout. There are many different types of spirit levels available, including laser varieties.
Sponge
A small investment, but a worthy one. Having a clean sponge on hand will enable you to complete your tiling project and remove any excess grout that may have accidentally gotten on your tiles’ surface. A dual-purpose sponge is ideal because its tough, dense cell construction will be able to remove any difficult grout.
How to Tile a Bathroom
You are now prepared to tile your bathroom. The entire procedure has been laid out below in simple steps.
Make a Plan
We’ve all heard the proverb “best laid plans,” but you should definitely have a plan before you start tiling your bathroom.
Figure out which walls you want to tile. Consider the tile sizes that you prefer. Would you prefer to have fully or partially tiled bathroom walls? All of these factors will influence what type and how many tiles you’ll need to buy. These factors will also influence how big of a job it will be.
Before proceeding to the next step, make sure you have given all of these considerations.
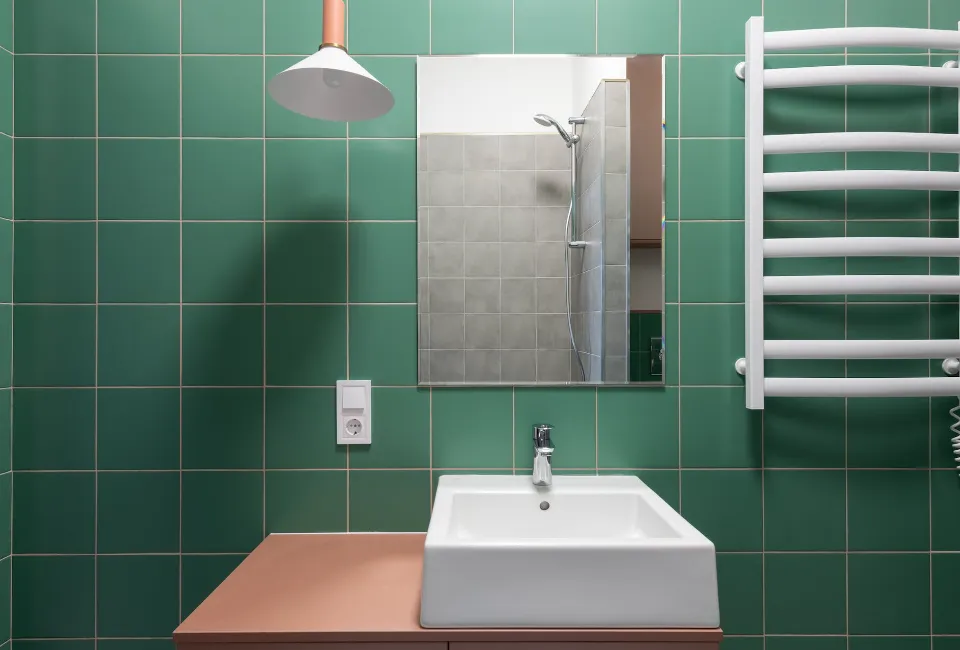
Select Your Tiles and Plan Your Pattern
Once your strategy is set, you can choose your tiles and choose how they will be arranged. This may vary depending on how your bathroom is designed and decorated overall. Maybe you want your tiles to match your bathroom’s furniture, flooring, or even the color of your shower.
Choosing the appropriate number of tiles to cover your walls is crucial. You determine how many by calculating the area that needs to be covered in square meters. You can do this by determining the wall’s length and width. Then add these numbers together. By multiplying the area by the dimensions of the tiles you’ve selected, you can find the area. This last number will help you estimate how many tiles you’ll need to purchase.
If your calculations result in a decimal point when measuring for tiles, round the number up to the nearest whole number. Also, don’t forget to multiply by 15% to account for waste and cuts.
Many tiles are sold in boxes that have detailed sizing information on the label.
What’s the Best Material for Wall Tiles?
One of the best wall coverings for bathrooms and kitchens is porcelain, which is also frequently used for shower tile designs. Because it is almost waterproof and suitable for the humidity and condensation of the space, it is a useful tile.
‘Porcelain tiles, both in small and large formats, are frequently used for bathroom walls. Stylish and in-keeping with so many current bathroom trends, they are also easy to wipe clean and maintain in years to come,’ explains Harriet Goodacre, tile consultant at Topps Tiles(opens in new tab).
‘The technology accessible to porcelain allows designs and patterns not achievable with other materials,’ adds Carol Butsko.
Are there any additional materials I should think about? ‘Natural stone has an amazing variety of hues, veining, and opacity, according to Carol. ‘A vibrant spectrum of color is available with glazed double-fired ceramic. Similarly glass offers a variety of colors with a rich translucency.’
Where Do You Start When Tiling a Wall?
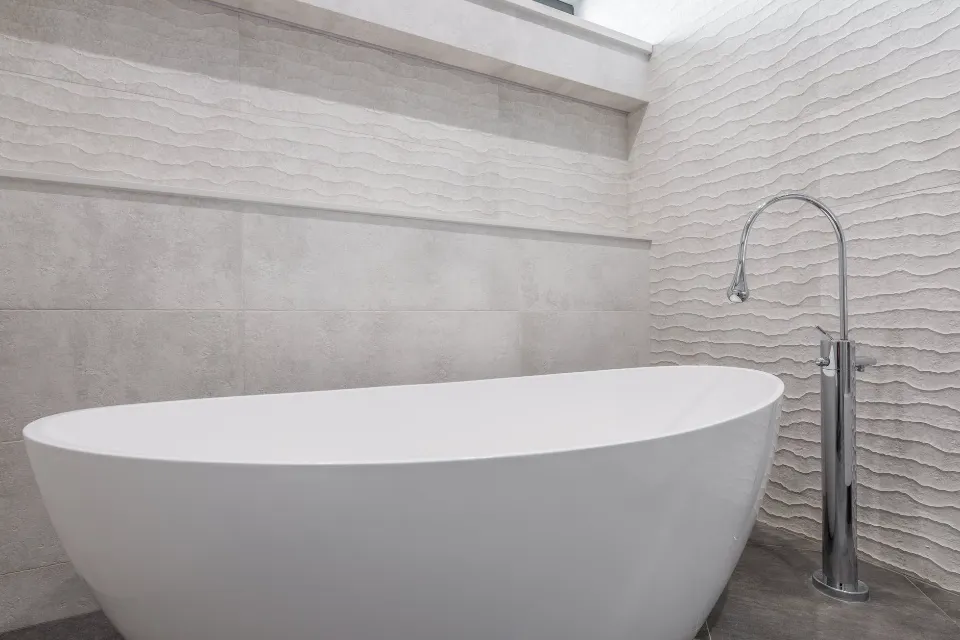
You must determine your starting point before tiling a wall, as shown above in the step-by-step. By doing this, it will be possible to use as many full tiles as possible.
Move the tile gauge one half of a tile to the right of the center point when determining the starting point if the space in the corner is less than one half of a tile. This will make room for a larger cut tile to be installed, giving the finished project a cleaner appearance. ‘For the best outcome, it is crucial to consider how the starting point will affect the end point, says Carol Butsko. ‘For vanities, tubs, or other fixtures in the space, placement might also need to be adjusted.’
‘According to bathroom remodeling specialist James Upton of DIYTileGuy(opens in new tab), walls typically lend themselves to being centered, particularly the back wall of a shower.
‘Otherwise, there is some subjectivity,’ he continues. ‘Possibly starting from the ceiling, full tiles would be preferred. You might want to begin at the bottom with a full tile. The top and bottom cuts could also be balanced, according to some people. The tile size, the area being tiled, and the wall’s focal point all play a role in this decision.’
Read More: How to Retile a Bathroom – Is It Difficult to Retile?

