To retile a bathroom, you can remove any fixtures that might make it difficult to remove the tile. Before removing a sink or toilet, shut off the water supply.
Read more to learn how to prep for the bathroom retiling project & the steps to retile a bathroom as well as some useful tips!
Prepping for a Bathroom Retiling Project
Cover the bathtub, toilet, other plumbing fixtures, cabinets, and additional bathroom appliances before you begin removing the old tiles because you don’t want to drop a heavy tile on the tub and have to replace bathroom flooring as well.
You can cover the tub with a sheet of plywood for best protection, and use tape and plastic sheets to cover cabinets and other fixtures. Make sure to turn off the water and remove the showerhead and fixtures before you begin retiling the shower walls.
You should safeguard yourself from any flying tile pieces in addition to safeguarding your house. When removing and installing tiles, be sure to put on safety goggles and gloves.
Remove Old Tiles
Old tiles must be removed, which takes time and patience but ultimately prevents you from having to do more work. By gently prying up the older tiles, you’ll have fewer drywall or subfloor repairs.
To score the grout where tiles meet, use a utility knife. With a prying tool, such as a putty knife or chisel, gently push along the edge of each tile, prying it off of the wall. Continue until all of the previous tiles have been removed.
Clean and Smooth Surfaces
The tiles need a flat, smooth surface to adhere to in order to align themselves uniformly. The outdated grout and mortar can be removed using a trowel or utility knife. Gently scrape the drywall or subfloor to prevent damage, but keep going until all of the mortar and grout is removed. Your new tiles won’t be laid properly if this happens.
Make Repairs as Needed
If you remove all the old tile and mortar, there may be some damage to the drywall or subfloor, or if you haven’t replaced these components in a while, they may already be worn out. To give your tile a longer lifespan and more durability, make sure to take the necessary steps to repair your drywall or subfloor right away.
You’ll need to make certain repairs based on your specific damage, but common fixes include using drywall compound to fill in holes or using small pieces of plywood to repair subflooring.
Install Backer Board Or Underlayment
Bathroom backer boards are placed beneath tiles to help them better withstand moisture in humid environments like those created by long baths and steamy showers.
Cut sheets of cement board or backer board with a circular saw to fit shower walls and bathroom floors. Cut holes for toilets, showerheads, tub faucets, and other fixtures using the circular saw after that.
Employing a drill and screws, mount the backer board. Screws should be placed 8 to 12 inches apart for showers. For floors, install the backer board underlayment with screws spaced 6 inches apart.
Create Guidelines
You wouldn’t want to start installing the new tile only to find the pieces don’t fit together the way you thought they would, or the pattern doesn’t look quite right with the cabinetry. Minimize any potential design regrets early on by laying out the tiles without mortar to get a better feel for the tile in the space. Tiles can be arranged and cut as necessary to create the desired effect.
Once you arrange the tiles in a way that works for the bathroom, use a chalk line tool to mark guidelines that will make laying the tile quicker and easier. Measure out and mark the center of the wall, shower wall, and/or floor. Mark tricky areas, such as corners of a room. To make sure the lines are as even and straight as possible, use a straightedge.
Apply Mortar
To join the tiles to the backer board, you’ll need mortar, also known as thin-set, which is a kind of mortar or tile adhesive. Following the manufacturer’s instructions, mix only an amount of mortar you can use up within about 30 minutes. Otherwise, it will begin drying too quickly, and you’ll be left with wasted materials.
Starting in the center, move along the marked lines on the wall or floor. With a notched trowel, evenly spread mortar or thin-set over the backer board. You should work in spaces that are about 3 square feet in size.
Install Tiles
It’s time to install the new bathroom tiles and see your design come to life.
To the tile’s back, thinly apply mortar or thin-set. Use the trowel to spread it, and then the notched edge to give the surface texture. Following the instructions, arrange the tile on the backer board. To allow space for the grout, place tile spacers between the tiles.
Use a wet saw and tile nippers to cut tiles to fit in small spaces, such as corners or spaces around cabinets, if you didn’t already cut them when arranging them in step five. Allow the tile and mortar to dry for at least 24 hours.
Fill Spaces With Grout
It’s time to add the finishing touches now that the laborious part of the job is complete. Before you apply the grout, make sure to remove the tile spacers.
Following the manufacturer’s instructions, start by mixing the grout. Use a trowel to spread grout evenly over the tiles, filling the spaces between the tiles. Put forth little efforts.
Every three to four minutes, wipe away extra grout with a damp sponge and a bucket of water nearby to rinse the sponge to prevent it from drying on the tiles. Refresh the water frequently. For floors, the grout should dry for up to 72 hours.
Clean and Caulk the Area
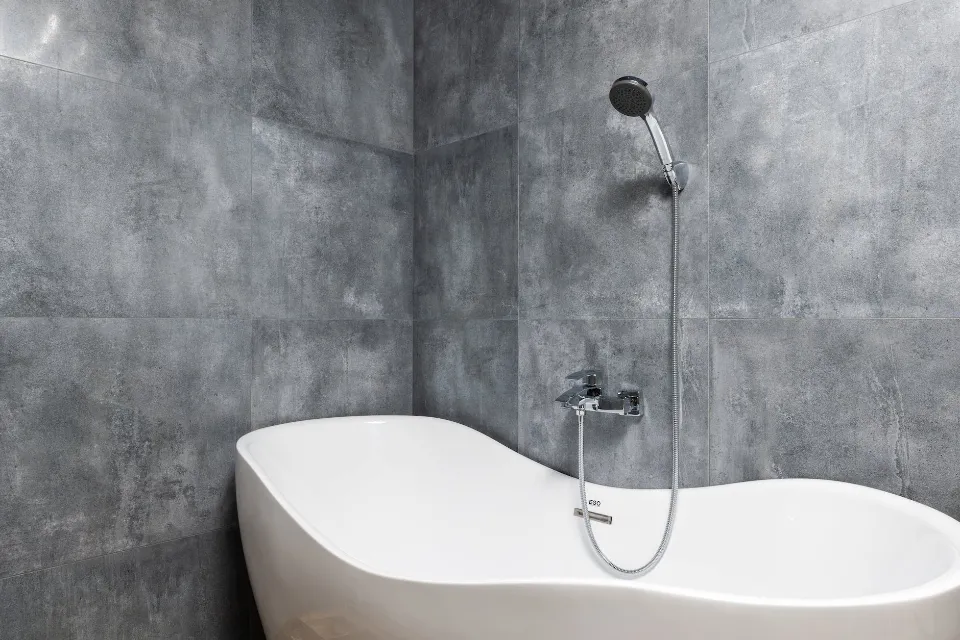
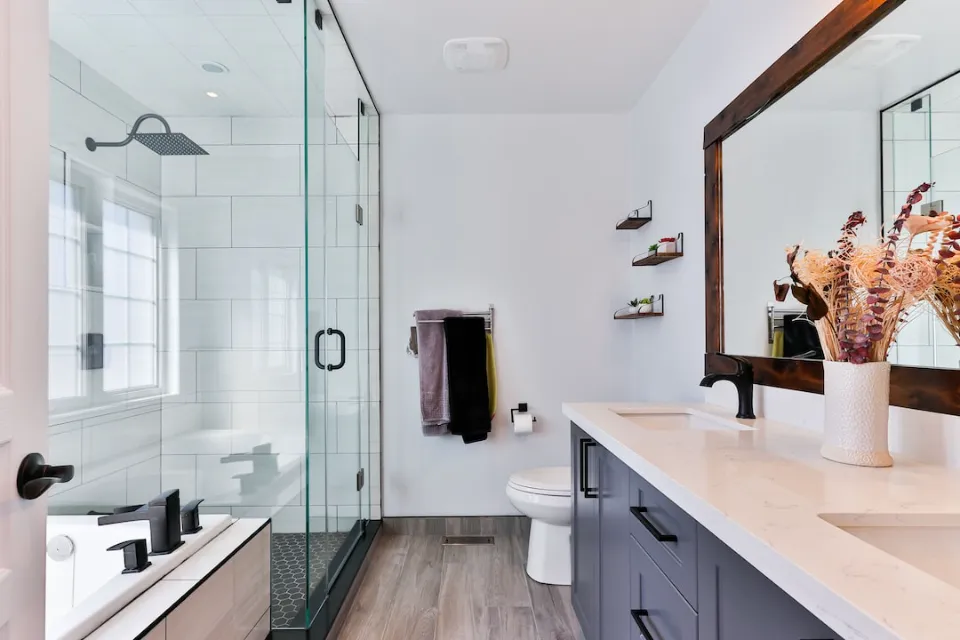
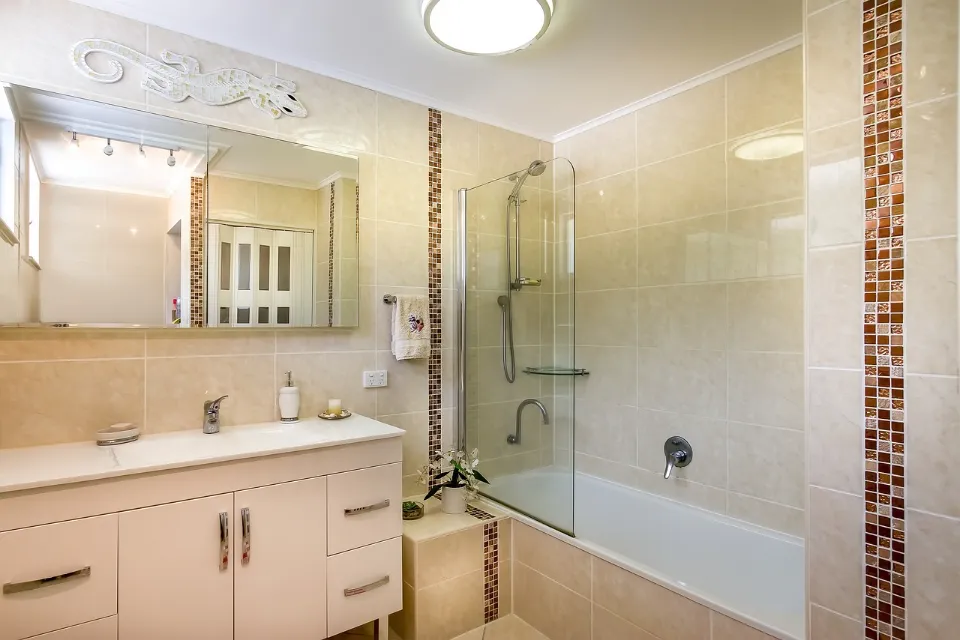
Now that the grout has dried, you can clean the tiled areas and caulk the bathtub, other plumbing fixtures, and the room’s corners. Remove plastic sheets and tape and protective plywood boards. Once the caulk has dried—the time will depend on the manufacturer’s instructions—you’re ready to soak in the tub and admire your handiwork.
Some Useful Tips
Retiling a shower or bathroom floor is frequently simpler than you might imagine; while it calls for a methodical approach, the procedure isn’t overly difficult. We’re providing a few extra pointers and techniques to make it even simpler. Be sure to check these out!
- Safety should come first, of course. It’s crucial to wear gloves and safety glasses. They are highly advised to be used because broken tile pieces can easily chip off, especially when removing old tiles and trimming any necessary tiles.
- One of the most crucial steps for a successful install is, as was already mentioned, removing old mortar. The general rule is that the better the mortar is removed, the better the new mortar will adhere to the surface.
- Measure the height of each tile prior to installation and mark it with chalk. To help the subsequent layer of mortar hold tiles securely, the new mortar must be applied below that chalk line.
- The final step should be the application of grout, which should be done evenly and thoroughly because improper grouting can cause your work to erode from water and become unusable.
Frequently Asked Questions
Can I Re-tile a Bathroom Myself?
A bathroom can be successfully retiled by many homeowners. It’s best for someone who already has at least intermediate DIY skills, as it can be a challenging but rewarding process.
Can You Tile over Existing Tiles in a Bathroom?
It’s not always a good idea to do something just because you can. In a bathroom, you can install new tile over old tile, but the new tile might not look great if you do so over worn, cracked, or uneven tiles. The weight of the drywall will increase if the new tile cannot be properly attached to the old tile by the adhesive.
Retiling a bathroom first necessitates more time and work, but it is worthwhile.
How Long Should It Take to Retile a Bathroom?
Retiling a bathroom takes a pro six to eight hours to complete. Laying the tiles will take a DIYer about 10 to 16 hours. The curing times for mortar, grout, and caulk, which are typically at least 24 hours for each material, must also be taken into consideration.