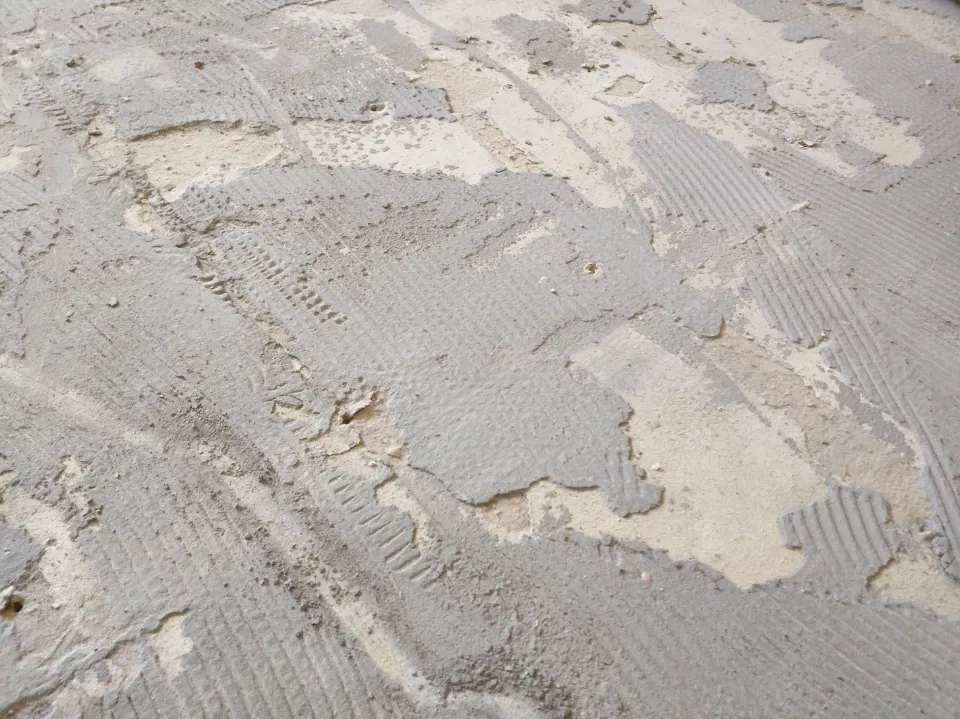
It’s very challenging to remove all traces of thinset. Using a hammer drill with a chisel attachment is the simplest way to remove thinset from plywood.
You’ll discover that removing this tough thinset is not as challenging as it may seem once you know a few tricks. You will need perseverance and the right equipment in either case to complete the task. A DIY approach won’t work in this situation and will only end up costing you more in the long run.
What is Thinset?
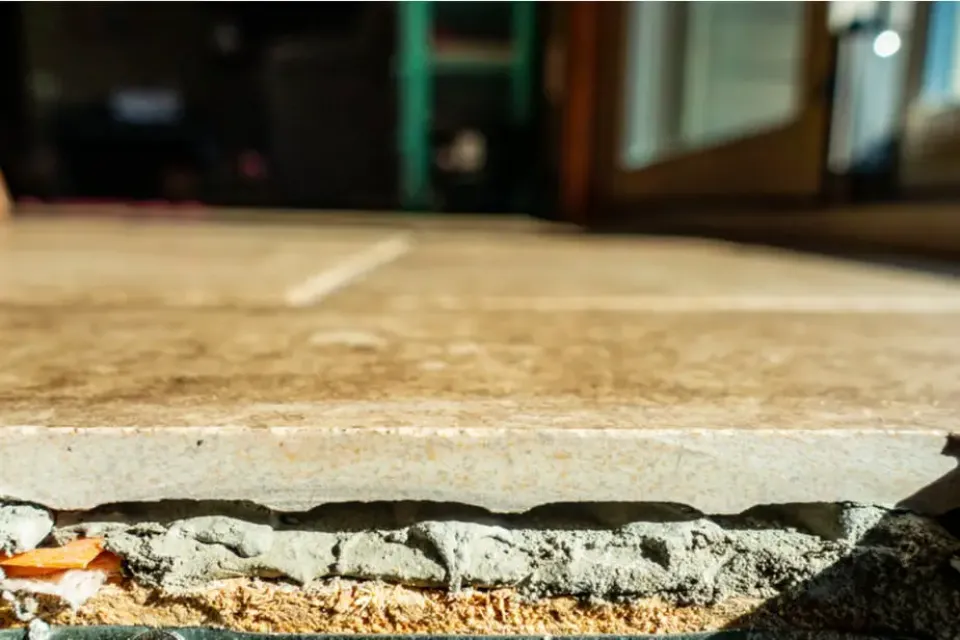
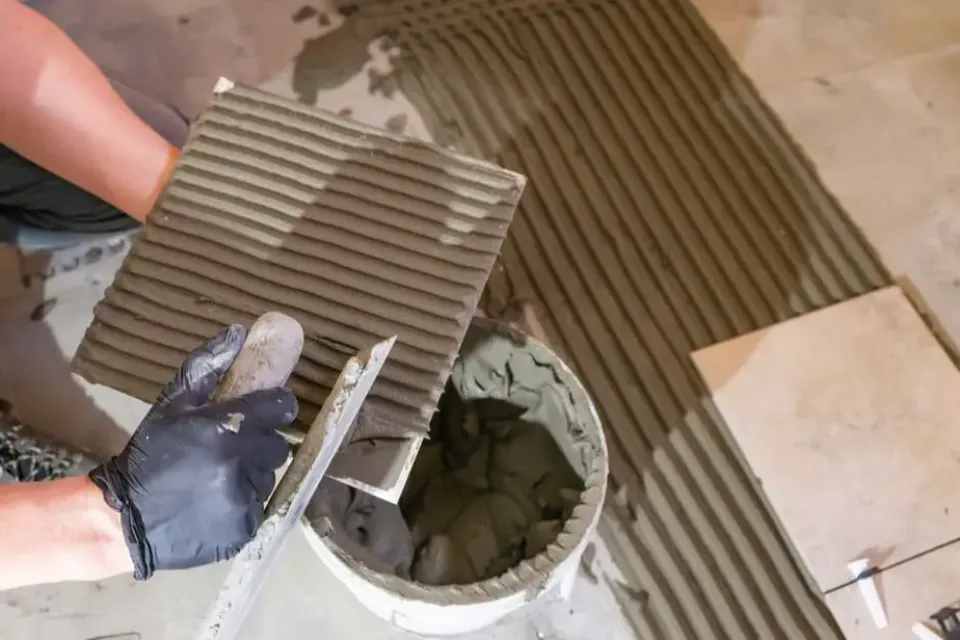
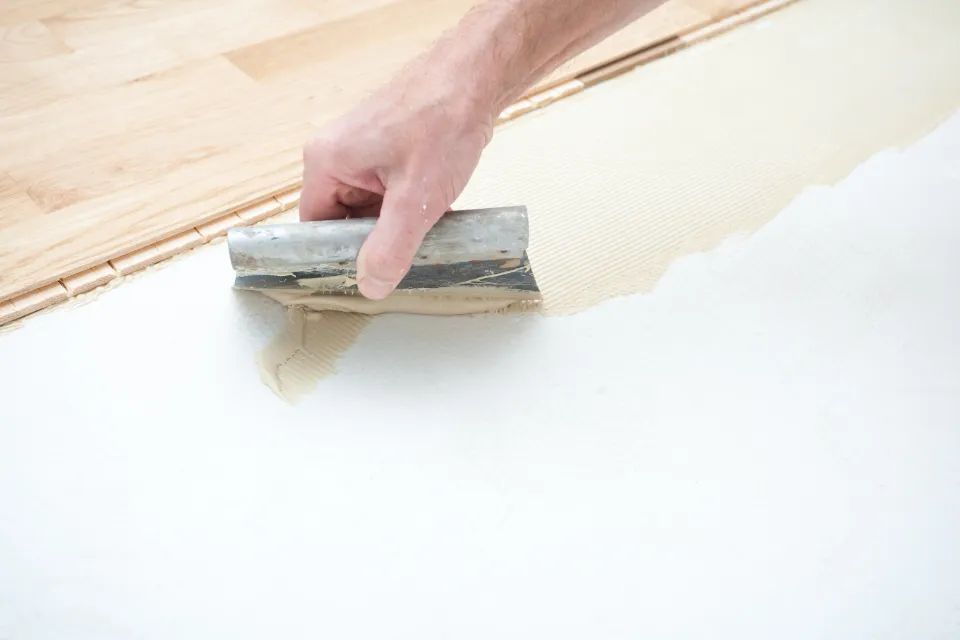
The mortar used to affix the back of the tile to the subfloor is called thinset. The ingredients for this paste are water, sand, cement, and additional adhesives. The main distinction between mortar and thinset is the presence of lime in traditional mortar. When installing tile, contractors lay a layer of mortar on the subfloor as a cushion. To enable the installer to lay out mortar in neat rows on the ground, the tile trowel has notched edges. (Read More: How to Clean Subfloor After Removing Carpet – Step by Step Guide)
Thinset Material Basics
Over cement, fiberboard, and waterproofing membranes, tile is installed using thinset. The underlayment, which is frequently plywood, is made possible by thinset, which allows the tiles or stones you are using to adhere to it. Cement is a component of thinset, making it extremely durable and perfect for anchoring flooring. Additionally, it contains a water-retentive material like an alkyl derivative of cellulose, fine sand, a bonding agent like polymers or latex, and a bonding agent.
How to Remove Thinset from Plywood?
Preparing to Remove Thinset
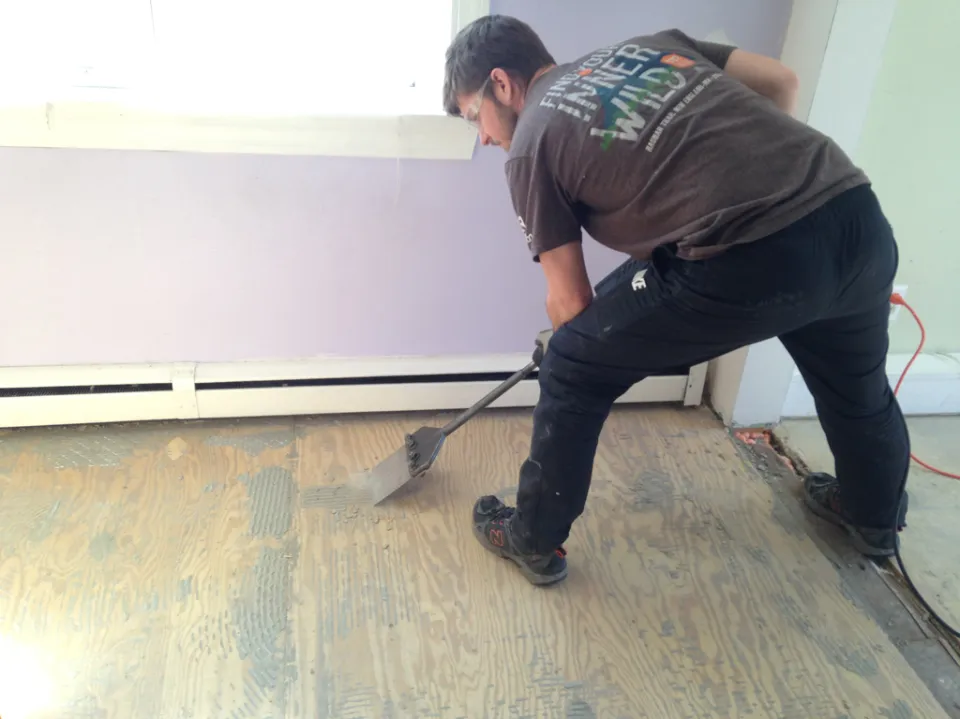
Taking off the top flooring layer is the first step in removing thinset from plywood underlayment. Stone or tile could be used here. When removing tile or stone, always wear protective eyewear and a dust mask. To protect your hands and ears, it is recommended that you put on thick work gloves and wear hearing protection. (Read More: How To Fix Uneven Plywood Subfloors)
After removing the top layers of flooring, thoroughly clean the area. You might want to sweep up the dust and debris with a broom before using a vacuum to get rid of the fine particles. This will make it simpler to determine if the thinset has been completely removed.
Removing Thinset from Plywood
Strike the thinset repeatedly with a hammer and, if necessary, a chisel to try to break its bond with the subfloor. Be careful not to strike the floor too forcefully as this could harm the subfloor. A metal scraper will help you get the thinset off the floor as you loosen it. To dispose of loose pieces of thinset, having a trash bag or bucket handy can be useful.
Scrape the thinset again, paying attention to gaps left by broken pieces. It can be a laborious process, but you’ll probably find it’s easiest to complete if you stick to the routine of loosening the material with hammers and chisels, then scraping from holes left by broken pieces. As you go, continue to clean up.
1. Using a Putty Knife
Using a putty knife or putty scraper to remove small amounts of thinset is the first and easiest method. Very small, hand-held putty knives can also be used as scrapers. They are typically used to apply plaster and putty to walls.
Simply remove the thinset using that scraper in this instance. This approach works best when there isn’t excessive thinset present or when it has already been noticeably loosened. Apply plenty of pressure as you push away from your body while holding the scraper at a 45-degree angle to the thinset.
Although it is a simple method, it does take a lot of time, energy, and work. We only advise using this technique for small thinset removal jobs because of this. However, because scrapers are small, and the process will take too long, you shouldn’t use this approach for large jobs.
2. Using a Hammer and Chisel
Using a hammer and chisel is the second method for removing thinset from plywood. Compared to using a putty knife or scraper, this approach is much more effective. This is particularly true if you have a bigger area to work with and the thinset is not very loose.
As you can probably tell, using a chisel instead of just a scraper to strike a hammer can produce a lot more force.
When a regular scraper doesn’t give you enough force or when the job is small to medium-sized, this method works well. Simply place your hammer on the thinset while holding the chisel at an angle of slightly less than 45 degrees. It also requires effort and time, though not as much as when using a scraper.
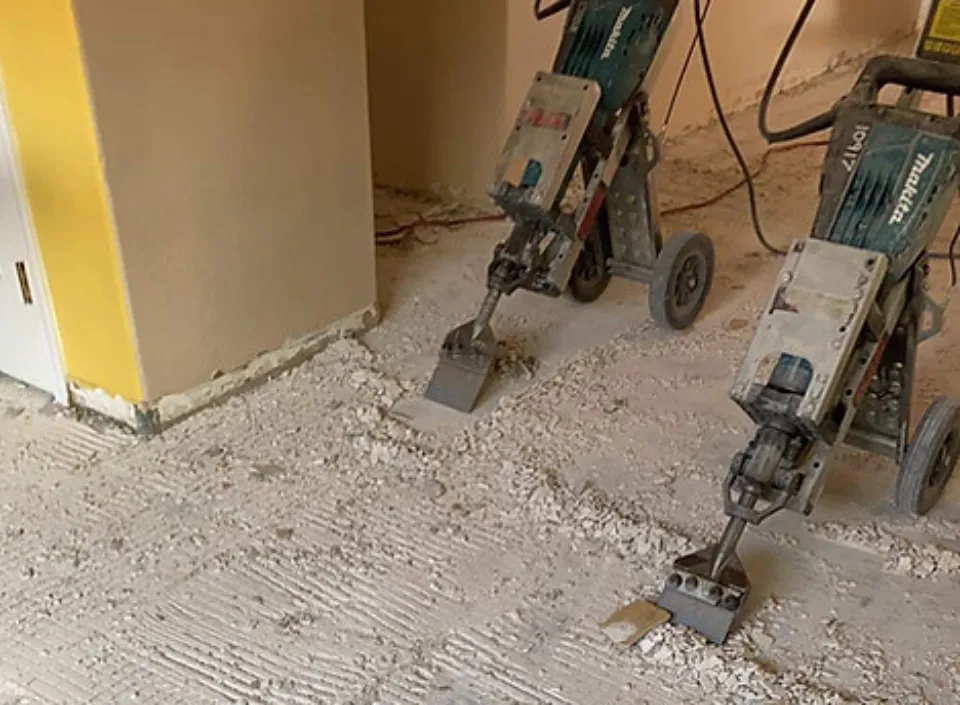
3. Using a Hammer Drill
Using a hammer drill with a chisel attachment may be the simplest way to remove thinset from plywood. Fast and potent, hammer drills. You simply need to hold the chisel head at an angle to the thinset while operating your hammer drill with it attached.
Despite the possibility of slight plywood damage, this is unquestionably one of the quicker methods available. Having said that, this is probably your best option if you require speed. Furthermore, you need to put in hardly any effort.
4. Using An Angle Grinder
Using an angle grinder with a diamond cutting wheel between 5 and 7 inches in diameter is another method for removing thinset from plywood.
This approach is considerably messier than the hammer drill approach, but it may be even quicker and easier. You must have the dust shroud on your angle grinder attached, and if at all possible, have a shop vac connected to it to remove the dust. Start grinding while maintaining a flat surface between the wheel and thinset.
What is the Best Way to Remove Thinset from Plywood?
Angle grinders and hammer drills are both effective options if you need to remove a lot of thinset that is really adhered to the surface. They will undoubtedly complete the task much more quickly than manual tools like the scraper or hammer/chisel.
Mistakes to Avoid, Tips & Tricks
Lastly, below are some tips to make the process easier:
- For the first three techniques, soaking the thinset in water is acceptable. Don’t do this, though, if you’re using an angle grinder. There will be a major mess created.
- You should avoid breathing in the dust from thinset because it is not the healthiest material. Even a simple painter’s mask will suffice as breathing protection when removing it.
- The less angle you should use when using a scraper or chisel, the thinner the layer of thinset should be.
Read More: How Long Before You Can Walk on New Tile Floors?
Conclusion
Someone can complete the task of removing thinset from plywood on their own. You can use the advice and strategies we’ve provided when completing this task. To achieve maximum effectiveness, always make sure to follow the instructions.
Remove the outdated tile flooring if you want to upgrade. You are free to select either the hammer and chisel or the hammer drill. The workload and the urgency are the determining factors.
FAQs
Can You Remove Thinset from Plywood?
If you use a chisel or a flat bar, removing THIN SET from plywood can take many hours. A much more effective method of doing this exists, though. PRO TIP: To make your job simple, quick, and safe, use an angle grinder with a dust shroud attachment and a diamond cup wheel.
What is the Best Tool to Remove Thinset from Wood?
One of the best tile and thinset removal tools is an angle grinder. Try pairing it with the stiffest metal brush attachment you can find if you happen to have an angle grinder on hand that you have previously used for grinding concrete.
Can Thinset Mortar Be Removed?
By chipping each mark from the tile with a chisel rather than scratching the actual tile, remove any dried thinset by doing so. To get rid of any last traces of thinset from the grout lines, use a grout scraper. Select the lowest setting on a rotary sander, then attach a 50-grit sanding disc to it.