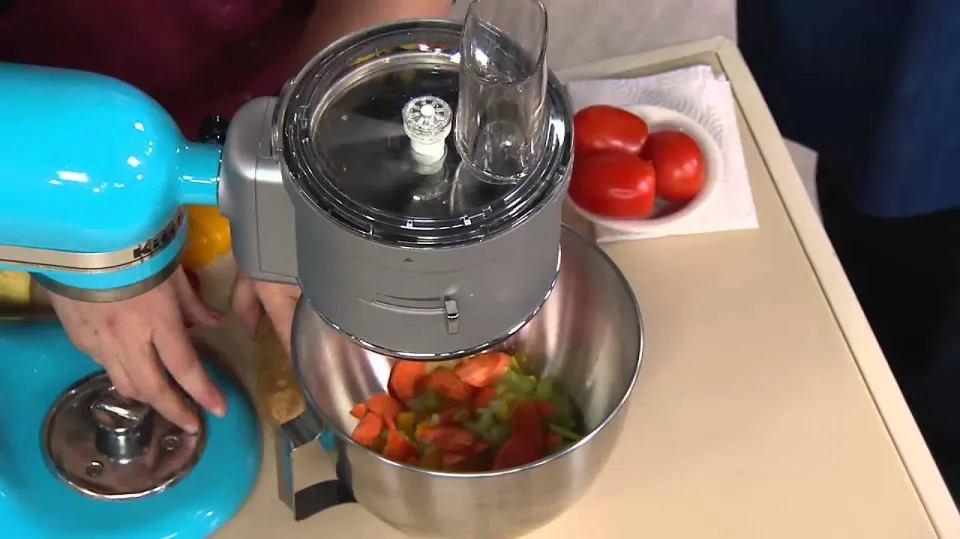
Your options in the kitchen are quickly increased by using a food processor. You can use functions like chop, mix, puree, slice and more all in one versatile appliance, leaving you more time to be the master—and taste-tester—of your culinary creations.
To slice or shred small items with the Kitchenaid Food Processor Attachment, place the 2-piece food pusher into the feed tube with the smaller chute facing the direction indicated.
Understanding how to use a food processor will lead to a plethora of new opportunities that go well beyond simple preparation. This practical manual will give you detailed instructions on how to make the most of a food processor.
Instructions to Use a Food Processor
A food processor needs to be put together first before you can use it. Whether you’re starting out with a small food chopper like the KitchenAid 3.5 Cup Food Chopper or something more robust like the KitchenAid 13 Assembly is always prioritized in a cup food processor.
Read More: Food Processor vs. Mixer – Which One Should You Choose?
1. Set Up the Base
The food processor’s motor is located in this, its bulkiest component. Make sure you set up your food processor on a flat, sturdy surface.
2. Attach the Work Bowl
It is this container made of transparent plastic that fastens to the bottom of your food processor. They come in various sizes, depending on the capacity of your food processor. The KitchenAid brand produces a variety of models, including 3.5 or 5-cup food choppers, 7-cup, 9-cup, and 13-cup food processors, as well as larger capacity models from the Pro Line.
The work bowls and latching lids on the KitchenAid 7, 9, and 13-cup food processors click into place for quick, hassle-free assembly. If the work bowl is not properly fastened and securely fastened, your food processor will not function.
If you have an older KitchenAid model, line up your bowl so that it is at an angle of about 90 degrees from the insertion point. Then, twist the bowl until it drops onto the base and locks into place.
If you’re ready to upgrade to innovative new designs for easier setup, there are many models of KitchenAid food processors for you to choose from.
3. Insert the Drive Adaptor
The drive shaft adaptor that your blades and discs slide over is typically included with food processors. In the work bowl, affix the drive adapter to the drive pin that is already there. On KitchenAid® food processors, this drive adaptor does not click or lock in place. There is no need to push or twist; simply lower it onto the drive pin.
4. Choose a Blade
Slicer or Shredder Disc – The majority of food processors come with a reversible slicer, shredder/grater disc, or multiple discs for thicker or thinner slices. First, push the drive adaptor as far down as it will go over the center drive pin to install these food processor add-ons. The disc’s center hole should be used to position it atop the drive shaft adaptor. At the rim of the bowl, it will rest on the drive adaptor.
Multi-Purpose or “S” Blade – The drive pin in the work bowl and base’s center is covered by this vintage food processor accessory. It has two very sharp-angled blades opposite each other on the shaft. For the KitchenAid3.5 or 5-cup food chopper, press down to lock the blade in place. There will be an audible click. Attach the drive adapter over the pin on larger KitchenAid models before sliding the multipurpose blade over it and pushing it as far down as it will go.
Dough Blade – In order to perform tasks like kneading dough, some food processors include a dedicated dough blade. The smooth edges of this blade help with kneading actions when using your food processor to make things like pie crust. The multipurpose blade and this blade are attached in the same manner.
5. Attach the Work Bowl Cover
This clear plastic lid secures to your work bowl, after you have attached your choice of blades. Once more, for the food processor to function, the lid needs to fit tightly against the work bowl. On all newer KitchenAid® food processor models, the lid is hinged to the work bowl. Simply flip it over to cover the bowl, then seal it with the locking tab. Older models required you to place the lid on the bowl and twist it into position so that it aligns with the bowl.
Larger food processor models frequently have additional feed tubes for adding ingredients as they are being processed, as well as a food pusher for slowly advancing ingredients toward the blades. The larger built-in feeding tube in the lid should be fully inserted into the smaller feed tubes or food pushers until they are flush. Some models have an audible click when the food pusher locks into position. The feed tube and pushers simply stack inside one another on more recent KitchenAid brand models.
6. Select a Food Processor Setting
You are now prepared to create culinary magic by chopping, pureeing, shredding, slicing, mixing, or kneading your ingredients after properly assembling your food processor. You can choose food processor functions like:
- Chop – Chop or mince salads, vegetables, potatoes, fruits, meats, nuts and more
- Puree – Turn cooked fruits, dips such as hummus, and vegetables into a smooth puree or paste
- Pulse – Quick burst operation for precision chopping or pureeing
- High – Runs the food processor continuously at a high speed
- Low – Runs the food processor continuously at a low speed
To find out what controls you have for using your food processor, consult the exact model you have. The KitchenAid 3.5-cup and 5-cup food choppers have a pulse feature in addition to a lever to switch from chop to puree. Three buttons are provided for high speed, low speed, and pulse on larger models like the 7-cup and 9-cup.
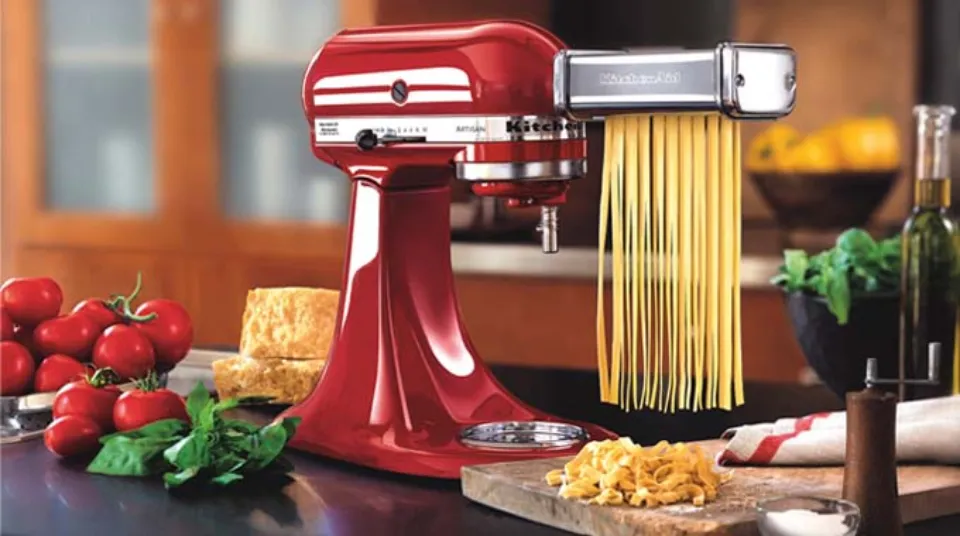
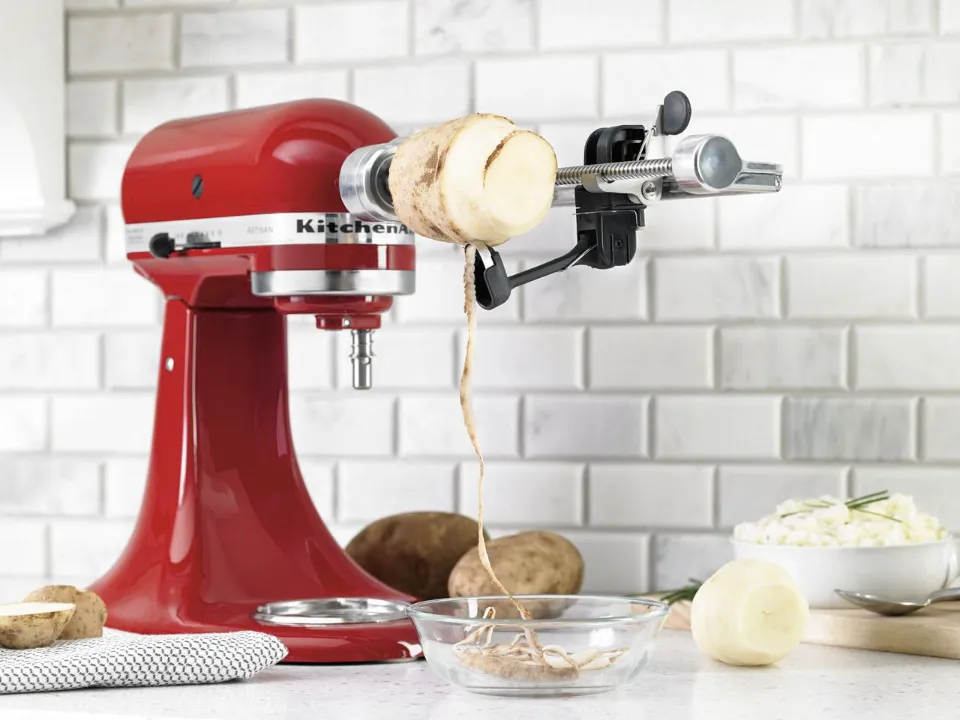
Are KitchenAid Mixer Attachments Universal?
Nearly every KitchenAid attachment is compatible with every stand mixer in the company’s line. A few Tilt-head and Bowl-Lift stand mixers (models KSM3316, KSM3317, K5SS, KSM5, KSM50, KSM500, and KSM450) as well as the Bread Bowl with Baking Lid, which works with 4.5 and 5-qt, are the only exclusions. The ice cream maker is also not compatible with the Mini. tilt-head stand mixers. Regardless of your stand mixer’s age, KitchenAid guarantees the universal design of its attachments and will likewise take the appropriate steps to ensure that you can effectively use attachments.
Can You Use Other Brands’ Stand Mixer Attachments?
Even though some third-party brands and other stand mixer manufacturers, such as Cuisinart, offer their own stand mixer attachments that are technically interchangeable, KitchenAid does not advise doing so because doing so could void the mixer’s warranty.
Are KitchenAid Attachments Dishwasher Safe?
The KitchenAid’s core attachments are usually dishwasher-safe, but I suggest hand-washing them whenever you can. Most models include white parts, which are nylon-coated and dishwasher-safe. Although some users point out that the coating may eventually chip or flake, they are simpler to maintain.
There are also burnished metal designs, which are typically found on more expensive models. However, they are not dishwasher-safe and require more maintenance.
FAQs
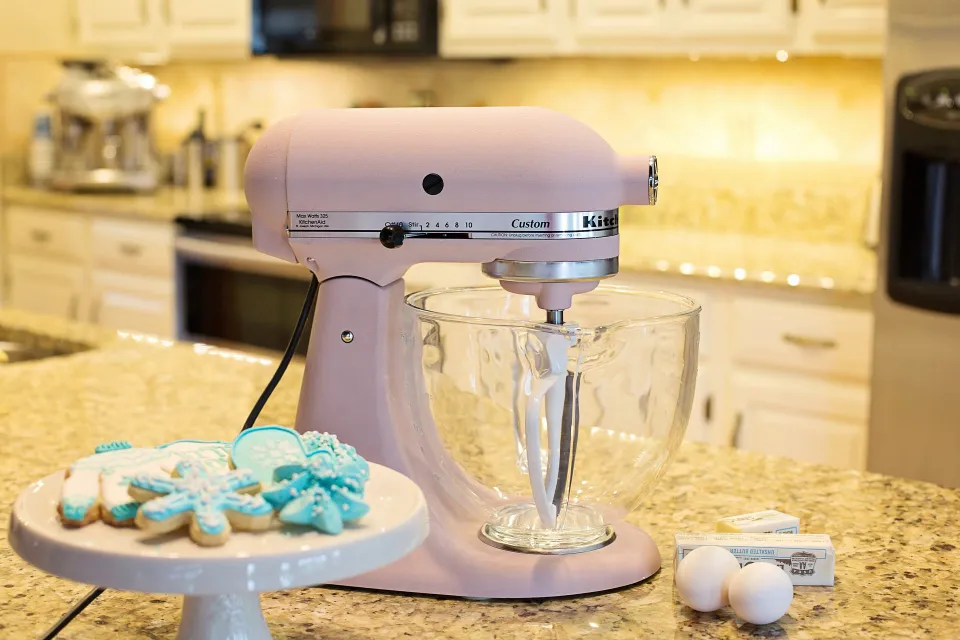
Which Kitchenaid Mixer Attachment to Use for Cookie Dough?
The flat edge beater for cookie dough can handle up to a medium weight of cookie dough.
Which Kitchenaid Mixer Attachment to Use for Bread?
To combine and knead thicker batters for bread, pizza dough, and pasta, use the dough hooks.
Which Kitchenaid Mixer Attachment to Use for Cake?
You can make cake using either the flat edge attachment or the whisk attachment, depending on the consistency of your batter.
Which Kitchenaid Mixer Attachment to Use for Mashed Potatoes?
Making creamy mashed potatoes is simple with the flat-edged beater.
Which Kitchenaid Mixer Attachment to Use for Shredded Meat?
To shred pork or chicken, use a flat-edge beater.