If your new KitchenAid mixer is not mixing the batter properly, or you find the beater does not come close to the sides or bottom of the bowl while mixing, don’t fret. This is a potential annoyance, but it’s not a product flaw. It is merely a signal that you might need to set up your mixer with a minor adjustment.
Using a screwdriver, you can adjust a KitchenAid mixer by turning the screw 1/4 inch to the right to lower the beater or 1/4 inch to the left to lift the beater.
Why You Need to Adjust Your Mixer
Since KitchenAid stand mixers are manufactured with beaters set to barely clear the bowl when mixing, you might need to adjust your mixer. In order for the beaters to be closer to the bowl during mixing without touching the bottom or sides of the bowl, this clearance may need to be changed. When the mixer is adjusted properly, the mixing action pulls all the batter in from the sides and bottom of the bowl, leaving minimal scraping required.
Read More: Food Processor vs. Mixer – Which One Should You Choose?
Signs That Your Mixer Needs to Be Adjusted
- Even though the bowl may appear level, if the beater hits the side of a bowl lift mixer, the bowl has not been snapped into place sufficiently.
- When ingredients at the bottom of the bowl aren’t mixed in, the beater is set too high.
- The beater is too high if the tilt head won’t stay in place.
- It indicates that the beater is too low if the white flat beater is chipping on the bottom or hitting the bottom.
How to Adjust Your Mixer
The beater-to-bowl clearance may need to be adjusted on any of the stand mixer models produced by KitchenAid. This information is in the product manual, but if you don’t have that handy, it’s easy enough to make this minor adjustment.
- Just below the point where the tilt-head model’s head is attached to the stand is a screw. To locate the screw, you’ll need to unplug your mixer and tilt the head up. A slight clockwise (right) turn will lower the beater and a counter-clockwise (left) motion will raise it.
- When using a bowl-lift model, you must put the lift handle in the down position after unplugging the device in order to see the adjustment screw, which is located on the lower portion of the stand. The adjustment to lower the beater is clockwise (right), while the adjustment to raise it is counter-clockwise (left).
When testing your adjustment, you should use the flat beater to ensure it just clears the bowl. If you’ve overcorrected or undercorrected, the bowl may not lock into place properly or you may hear the beater hit the sides or bottom of the bowl. To fix it if this occurs, you might need to slightly counter the adjustment. These directions can also be used to properly install a BeaterBlade mixer attachment on your KitchenAid mixer. (Read More: 5 Reasons Why Are KitchenAid Mixers So Expensive)
It’s crucial to position the beater properly. The finish may chip if the beater strikes the bowl, which will make cleaning more difficult. This additional strain may also result in issues with the mixer motor.
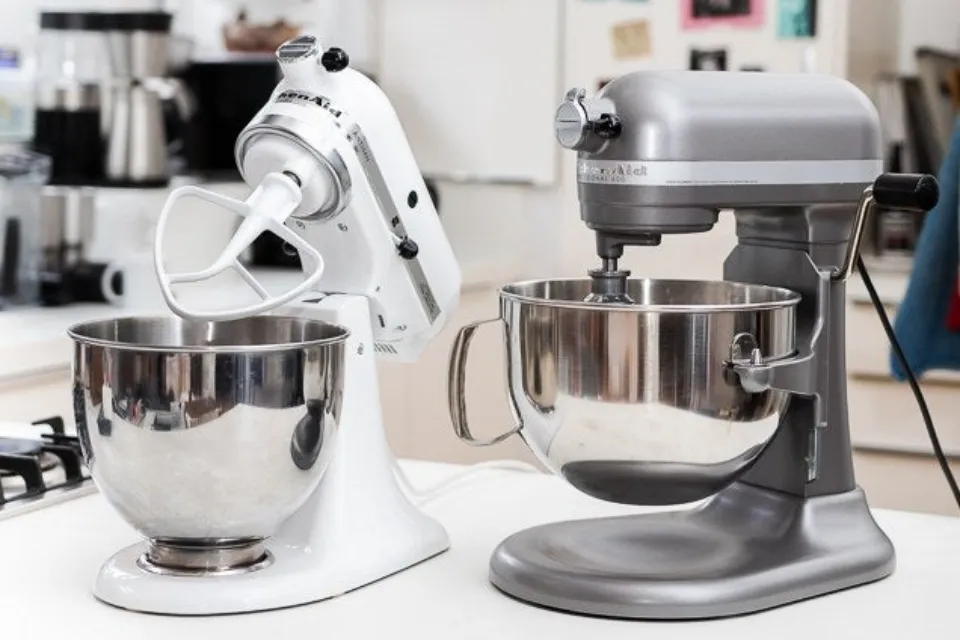
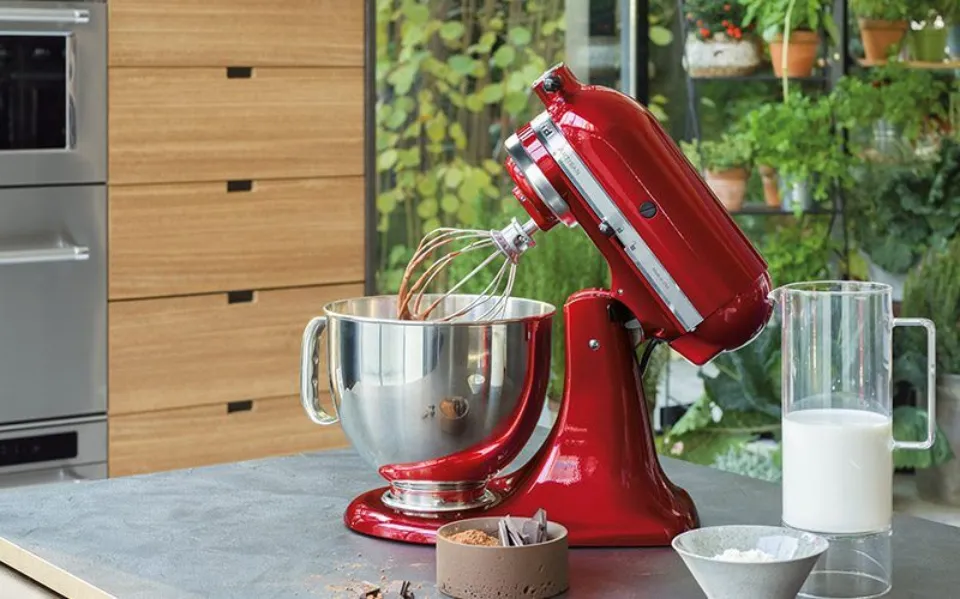
Adjusting a Tilt-head Mixer
Prior to making any adjustments to your tilt-head stand mixer, make sure it is turned off and unplugged from the wall. You might need to plug and unplug your mixer several times while making adjustments.
- Step 1
Make sure your flat beater isn’t chipped or scratched before you begin by looking at it. If it is, you must replace it before moving on. It’s crucial to use an intact beater when conducting the dime test.
- Step 2
To find the necessary screw, raise the head of your tilt-head mixer. This screw is in the hinge where the head connects to the body of the mixer.
This screw isn’t visible when the head is in the downwards position and can only be seen when the mixer head is tilted back.
- Step 3
Using the screwdriver, turn the screw a 1/4 inch turn to the right to lower the beater or a 1/4 inch left to lift the beater. In order to achieve the ideal position, turn the screw no more than a quarter inch at a time, checking the bowl’s clearance after each turn.
Adjusting a Bowl-lift Mixer
Similarly, with the tilt-head, make sure that your bowl lift mixer is turned off and unplugged. Make sure your beater is not broken or chipped.
- Step 1
Place the lever in the down position to reveal the screw. After lowering the lever, the screw will become visible in the mixer’s body’s center.
- Step 2
If you need the beater higher or lower, use the flat-head screwdriver to turn the screw in either direction. Keep in mind to turn it only 1/4th at a time.
The Dime Test
Drop a dime into the bowl after adjusting the bowl clearance on either the head-tilt or bowl-lift stand mixer, then attach your paddle.
Check to see how the dime is moving around the bowl after you turn on your mixer. If it isn’t moving at all, your beater is too high, and you need to readjust the position.
If the dime is moving around like crazy, the position is too low and also needs readjusting.
The dime is in the right place when it moves more than a quarter or half an inch every time the beater passes over it.
Be sure to stop your mixer and unplug it from the wall before conducting tests or making adjustments.
Note: The “Dime Test” works for stainless bowls only, not glass or ceramic.
- The clearance will vary slightly because of the nature of glass manufacturing; therefore, adjustments should be made without the dime until mixing performance is satisfactory.
- It may take slightly longer for yeast dough ingredients to come together in a glass bowl.
How to Adjust for New Attachments
A bowl is included with every KitchenAid stand mixer. Sometimes, the standard bowl might not be suitable for certain bakes. You might want to get a smaller bowl so you can mix smaller quantities because it can be challenging to combine smaller ingredients, especially with the larger stand mixers.
The size or shape of any third-party attachments you receive may also differ, which may affect the attachment’s position.
If you notice that the mixing isn’t quite as effective as it once was, make sure to readjust your bowl clearance whenever you change out your attachments or replacements.

Conclusion
Only the KitchenAid steel bowl can be used with this technique; the glass or ceramic models cannot be used. The whisk or hook cannot be used for this test; only the paddle attachment may be used. Just rotate the adjustment screw in the mixer’s neck. No more screws should be messed with.
FAQs
How Do You Adjust the Beater Height on a KitchenAid Mixer?
Removing the power or unplugging the stand mixer Tilt the motor head back. Turn screw (A) SLIGHTLY counterclockwise (left) to raise the Flat Beater or clockwise (right) to lower the Flat Beater. Ajust so that the Flat Beater barely touches the bowl’s surface.
Why is My KitchenAid Mixer Not Hitting the Bottom of the Bowl?
If the beater is raised too much, the ingredients cannot be reached and mixed. The white coating on the bottom of your beater may chip off if the beater is held too low and strikes the bottom of the bowl.
Why is My KitchenAid Mixer Hitting the Bowl?
If the bottom of the bowl is being struck by the flat beater, it may be that the beater is too low and needs to be raised. Your mixer is set up at the factory to mix ingredients as efficiently as possible, but with use and time, it may change, necessitating a readjustment.