Maybe your Ninja coffee maker has an illuminated clean light, and you want to know how to fix it, or you brewed up a cup of coffee this morning, and it tasted a little off. Your machine is trying to let you know that it wants a little help.
The Keurig coffee maker must be plugged into a grounded outlet, the water reservoir must be taken out, and it must be thoroughly cleaned.
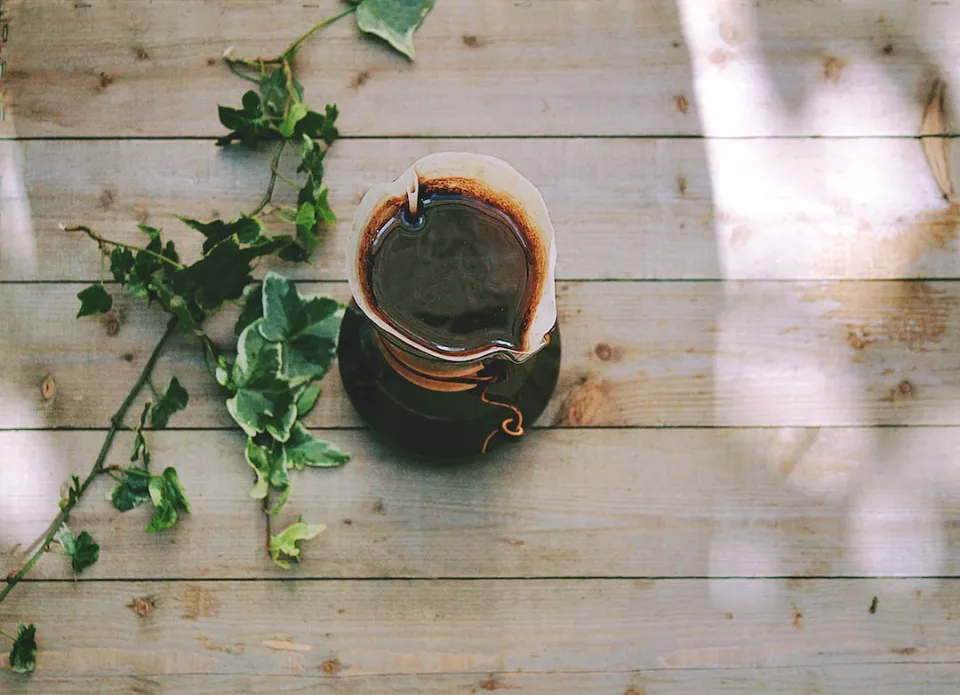
Your Ninja coffee maker needs to be cleaned, but don’t worry; it’s a simple procedure and shouldn’t take more than 10-15 minutes from beginning to end.
Discover how to clean the Ninja Coffee Bar, use the coffee maker, and turn off the clean light! It takes more than just starting the clean cycle to complete the special procedure. Here’s how!
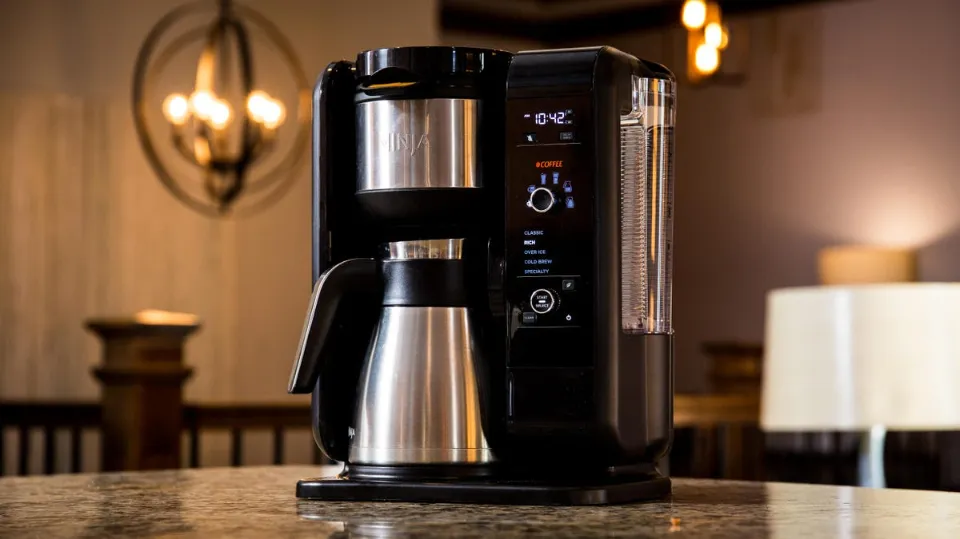
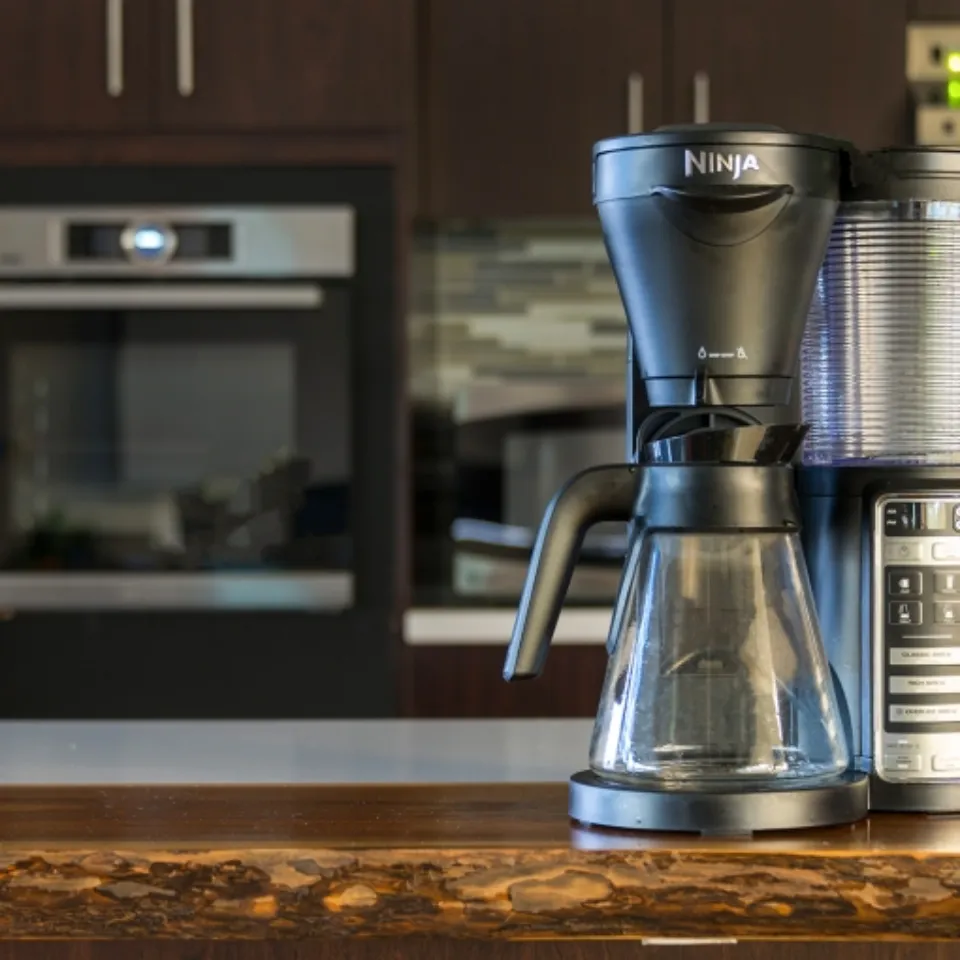
How to Clean the NINJA Coffee Maker
Mineral deposits from the water used to make coffee are gradually deposited in coffee makers. In the crevices of the machine, mold and bacteria also flourish. In order to decalcify your machine, get rid of the mold and bacteria, and maintain the flavor of your coffee, you must clean your ninja coffee bar every few months.
1. Discard Water/Coffee
The first step is to remove any remaining water from the reservoir and to empty the basket of any coffee grounds. Before putting the coffee filter back into the machine, make sure the basket is clean as well.
2. Add Descaling Solution
Now fill your machine with vinegar or a descaling solution. Use a descaling solution as directed, per the bottle’s printed instructions.
If you’re using white vinegar, fill the reservoir with the vinegar until it reaches the line for a 16 oz travel mug. Then add fresh water until the reservoir is full. Make sure that the carafe is on the hot plate to catch any solution being discharged from your machine.
3. Start the Cleaning Cycle
Press the CLEAN button to initiate the Ninja Coffee Bar’s cleaning process. The cleaning cycle of the device will begin at this point. It will only brew a small amount of the cleaning solution before stopping because the solution needs time to work on the mineral scale that has accumulated in your machine.
During this period, the timer will keep running out of time. For the purpose of collecting any liquid that may drip from the appliance, keep the carafe on the hot plate. The remaining cleaning solution will be run through the Ninja Coffee Bar to complete the cycle after 60 minutes.
When it’s finished cleaning, your machine will beep and a FLUSH may be displayed.
4. Rinse Or Flush Your Ninja Coffee Bar
You must rinse or flush your coffee maker with fresh water after it has been cleaned.
Empty the carafe to do this. Now thoroughly rinse the reservoir and carafe with fresh water.
Fill the reservoir to the max.
Some Ninja Coffee Bars have a Flush Cycle. If so, FLUSH will show up on your clock’s display. Make sure to flush your machine within 15 minutes of the clean cycle finishing.
In such a case, you must restart the cleaning cycle.
Simply press the CLEAN button once more to rinse or flush the machine. The machine will flush itself using the clean water in the reservoir after an 8-minute countdown has passed. To make sure that all the vinegar has been eliminated from your machine, repeat the flush cycle a second time.
Otherwise, choose the full carafe classic brew to begin the water brewing process on your machine. Run fresh water through your machine 2-3 times to remove the vinegar taste.
5. Wash Reservoir and Coffee Filter
In warm, soapy water, wash the reservoir, carafe, and coffee filter. Avoid using a cloth to dry them; instead, allow them to dry on the counter. Lint could be left on the parts by the cloth.
When they’re dry, replace them in your machine. You are now prepared to make yourself a hot cup of coffee.

How to Descale Ninja Coffee Maker
It’s time to descale your Ninja coffee maker when the CLEAN light illuminates.
The descaling procedure varies a little bit depending on the model and date code of your unit, so you must first check the date code before beginning. The 4-digit number code is engraved on the plug prong at the end of the power cord. These are the date codes:
Classic model:
- Date code 0016 – 2516, or ends in 15
- Date code 2616 -5216
- Date code ends in 17
Model with a built-in frother:
- Date code 0016 – 3216
- Date code 3316 -5216
- Date code ends in 17
Date Code 0016 – 2516, Or Ends in 15
Remove any remaining coffee grounds, water, or filter from the carafe, reservoir, and basket. Set the empty carafe under the brew basket after choosing the full carafe size.
2. 32 ounces of warm water should be added along with 1 bottle of Full Circle solution (or, if your model has a smaller tank, up to the MAX fill line).
3. Activate the Clean button. The machine will start dispensing a descaling solution. Throughout this time, refrain from pushing any buttons or removing the carafe. About 8 minutes will pass during this procedure.
4. Remove the water reservoir and the carafe after 8 minutes, empty them, and give them a good rinse. Only add clean water to the tank’s MAX fill line before putting the carafe and tank back together.
5. Run two more clean cycles – press the clean button and once the entire reservoir is dispensed, discard water from the carafe and fill the tank once again with clean water. Repeat.
You need to rinse the machine with 2 full tanks of clean water. The clean light should go out once your machine is clean.
6. Once everything has been put back together and the reservoir has been filled with fresh, clean water, you are ready to brew. Hand wash all removable parts with a mild detergent. Wipe down the apparatus.
Date Code 2616 -5216
1. Remove any remaining coffee grounds, water, or filter from the carafe, reservoir, and basket. Set the empty carafe under the brew basket after choosing the full carafe size.
2. If your model has a smaller tank, fill it up to the MAX fill line and add 1 bottle of Full Circle solution along with 32 ounces of warm water.
3. The machine should be left alone for an hour after pressing the CLEAN button. The machine will dispense water and pause a few times during this period. Just make sure you don’t press any buttons or remove the carafe during this period because it can stop the process.
4. A FLUSH message should appear on the screen and you should hear a beep after an hour.
5. The water reservoir and carafe should be taken out, emptied, and thoroughly rinsed. Place the reservoir and the carafe back together after filling it with fresh water to the MAX fill line. Press the CLEAN button.
Don’t wait too long after the beep; you have 15 minutes to complete this. The machine should start dispensing water and rinsing your machine as soon as you press the clean button. This process will take about 8 minutes. The clean light will turn off when it is finished.
6. All removable components should be taken apart and hand washed with gentle detergent.
7. After reassembling everything, wipe the unit down with a soft, damp cloth, fill the reservoir with fresh water, and then dry it off completely.
Date Code Ends in 17
1. Remove all of the coffee/grounds and any remaining water from the carafe, filter basket, and water reservoir. Choose the full carafe size and place the bare carafe beneath the brew basket.
2. Add 32 ounces of warm water, 1 bottle of Full Circle solution (or 1 packet), and as much water as the MAX fill line, if your model has a smaller tank.
3. Press the CLEAN button and let the machine sit for 1 hour. The machine will dispense water and pause a few times during this period. Just be careful not to press any buttons or take out the carafe during this time because doing so could halt the process.
4. The CLEAN light should turn off and you should hear a beep after an hour.
5. Thoroughly rinse after removing, emptying, and using the water reservoir and carafe. Place the reservoir and the carafe back together after filling it with fresh water to the MAX fill line. Make sure the machine is set to the full carafe and press the CLASSIC BREW cycle to rinse the machine.
Repeat with another freshwater reservoir that is fully filled.
6. Take out the water tank, a carafe, and a brew basket, then hand wash everything with a gentle detergent.
7. After reassembling everything, clean the unit with a damp, soft cloth. Then, add fresh water to the reservoir.
With this coffee, your feet won’t taste in it anymore!
Troubleshooting: Ninja Coffee Bar Clean Light Won’t Go Off
After a clean cycle, if the clean light is still on, there probably is still calcium buildup in the brewer. When the machine is completely free of calcium deposits, you must repeat the descaling procedure, at which point the clean light will turn off automatically.
How to Know When It’s Time to Clean?
You can determine when to clean your Ninja Coffee Bar in a few different ways. The indicator light turning on is the trigger for the first method, which is also the simplest. This is a sure sign that your coffee maker needs to be cleaned.
When your coffee starts to taste bitter because of the mineral buildup and mold that are hiding in the crevices of your machine, there is a second method.
When they need to be cleaned, coffee makers frequently also have trouble brewing coffee. It’s time to clean your Ninja coffee maker if you notice that it is taking longer than usual to brew a pot of coffee or that it isn’t producing a full pot when you brew a cup.
Another method is by time, every month or two you should give your coffee maker a deep cleaning to keep it running efficiently.
Pro Tips to Keep Your Coffee Maker Clean
In addition to giving your Ninja Coffee Bar a deep clean every 1-2 months, there are a few hacks you can use to keep it clean and your coffee tasting amazing.
Clean Milk Frother
By half-filling a cup with warm water, rinse your milk frother each time you use it. This cup will be raised above the milk frother so that it is submerged beneath the water. 20–30 seconds after turning it on.
Deep Clean Milk Frother
Periodically, you’ll also need to thoroughly clean your milk frother. To do this, unlock the frother, slide it off the coffee maker, and wash it in the sink with soap and water.
Clean the Carafe
The carafe occasionally gets stained with burnt coffee. If your carafe is experiencing this problem, load it up with ice and salt the ice. Add some lemon juice to the ice as well.
The carafe should now be left alone for the night. Use warm water and dish soap to wash the carafe in the morning.
Read More: 5 Best Iced Coffee Makers (2023 Reviews)
Use Lemon Juice Instead of Vinegar
When cleaning your coffee maker, try using lemon juice if you don’t like the smell of vinegar. Simply substitute lemon juice for the vinegar in the directions and proceed as before. Fresh lemon juice or lemon juice in a bottle will both work.
As it cleans your machine, the smell will get better. You only need to rinse your coffee maker once or twice because lemon juice doesn’t leave a bad taste in the appliance.
Wash After Every Use
After each use, wash the removable parts in soapy water. This includes the carafe, frothing whisk, brew-through lid, coffee, scoop, and water reservoir. Wipe down the rest of the machine with a damp cloth to remove all of the coffee oils.
This will lessen the likelihood that the coffee oils accumulating in your machine will give your coffee a bitter taste.
Also Read: How to Clean a Bunn Coffee Maker
Conclusion
When it is clean, your coffee tastes better. Without first using great water, you can’t make great coffee. Coffee makers should be cleaned frequently to prevent the accumulation of stale coffee, minerals, and other impurities that can alter the flavor of your coffee.
You need to keep in mind that your coffee maker is a haven for bacteria. Let’s face it, no one likes to consider that their coffee maker is aiding bacterial reproduction; it is simply disgusting.
FAQs
Is the Ninja Coffee Bar Dishwasher-safe?
Many parts of the Ninja Coffee Bar are dishwasher-safe, though not all of them are! The glass carafe, frothing whisk, brew-through lid, water reservoir, and coffee scoop can all be safely washed on the top rack of your dishwasher.
How Do You Run the CLEAN Cycle on a Ninja Coffee Maker?
Press the “CLEAN” button and let it run for about 1 minute. Press the “CLEAN” button again to pause the machine. Let the machine sit for 30 minutes to 1 hour. Press the “CLEAN” button again, and let it finish the cleaning cycle.
How Do You CLEAN a Ninja Coffee Maker With White Vinegar?
It’s very simple. Just pour a mixture of descaling solution and water, or white vinegar and water, into the water reservoir and press the “clean” button. In order to maintain your coffee maker’s peak performance, you should run this clean cycle as soon as the machine’s clean light illuminates.
How Often Should You CLEAN Your Ninja Coffee Maker?
It only takes ten minutes and will make a significant difference. I advise cleaning your Ninja once every seven days. As soon as the CLEAN light comes on, you should descale your coffee maker as well. Scale, or calcium deposits, that can accumulate inside a coffee maker over time are eliminated by this process.