Who knew that a food processor could be used to make your own butter? Although a food processor makes everything a little neater, I knew you could make it in your stand mixer!
Butter can be made in a food processor, right? In fact, a food processor might be even more practical than a butter blender.
After making your own homemade butter, you won’t let a jar of cream go to waste ever again, and it’s so simple! You can spread it on homemade crumpets or use it in baking.
Making CULTURED BUTTER follows the same procedure, but requires an additional step. To find out how to succeed, keep reading.
How to Make Butter in a Food Processor
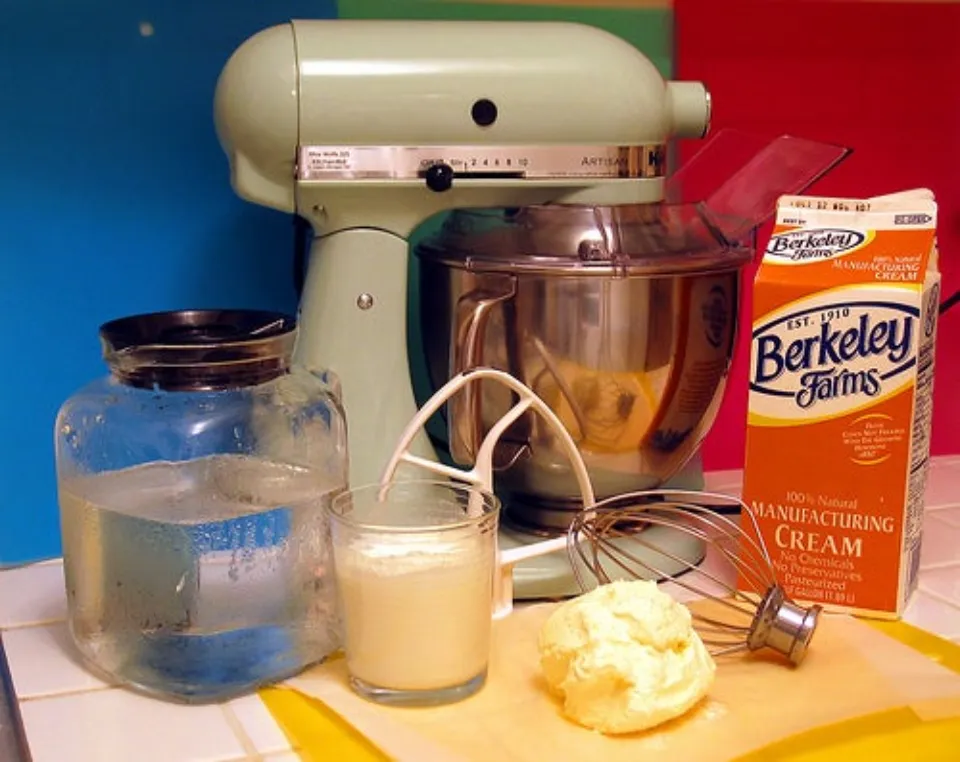
What You’ll Need
- A sieve or colander
- Some cheesecloth or a clean tea towel or something similar
- A bowl to collect the buttermilk
- Approximately 1 litre of ice-cold water.
Ingredients
- 1 litre pure cream (35% fat) without thickeners
- Salt to taste, if making salted butter (1 – 2 teaspoons for 1 litre cream)
Method
Before beginning, make certain that all of your equipment is meticulously clean.
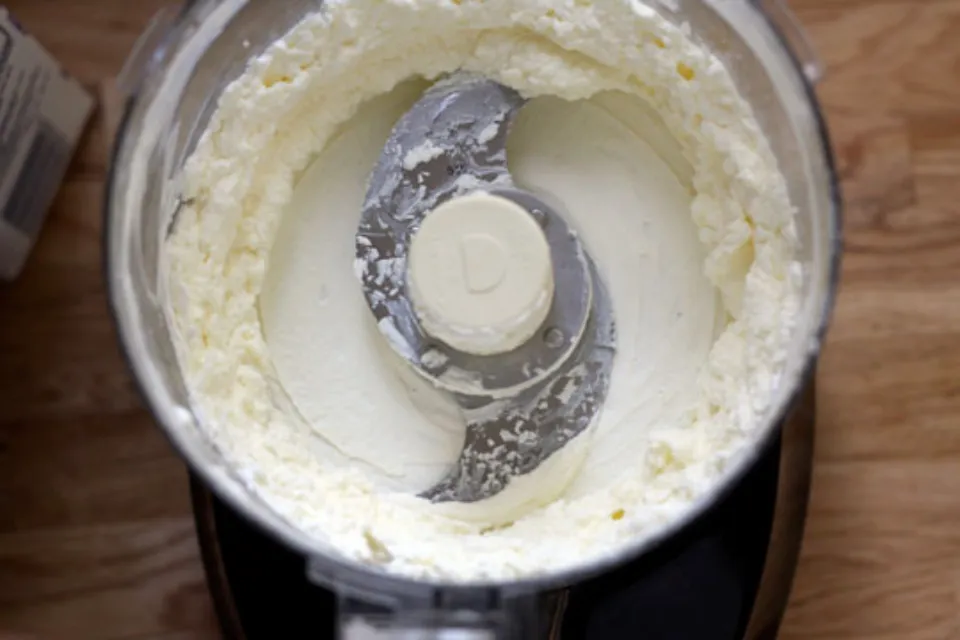
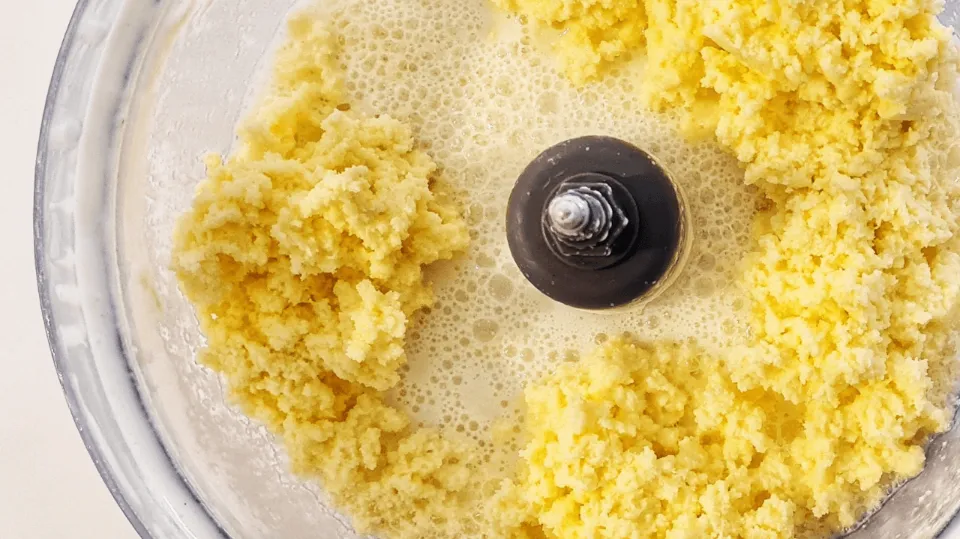
Pour the cream into your food processor then turn the machine on and let it run.
The cream will first become whipped, then start to look curdled, and then the butterfat will separate from the buttermilk. The sound of your processor’s motor will change, and liquid will start sloshing around inside, both of which will indicate when it has reached this stage.
At this point, it’s time to remove it from the food processor and strain the buttermilk through a sieve. The buttermilk should be frozen, but you should save it for later. Read More: Food Processor vs. Mixer – Which One Should You Choose?
Place the butter into a bowl and begin working it with a spatula to continue releasing the buttermilk. Continually pour off any liquid and keep working it until there isn’t much liquid left.
Pour some of the ice-cold water over the butter, then start incorporating it to remove any lingering buttermilk. Fill the bowl with more ice cold water as the water begins to turn milky (don’t save this liquid). Do this repeatedly until the water is largely clear.
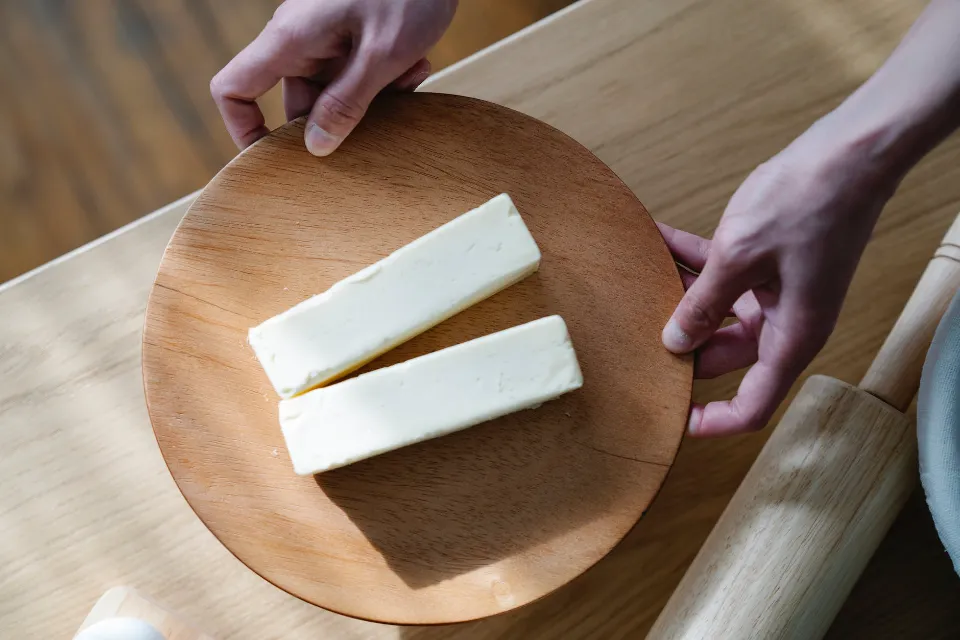
Place the butter in the center of the cloth, pull up the sides, and then twist to squeeze out any liquid that remains. Remove it from the cloth when the dripping stops, then stir in any salt you’re using.
Press into a container or pat into a block shape.
Refrigerate for up to 7 days in an airtight container.
Butter RECIPE NOTES
- You can also portion your butter and freeze it for up to 5 months. Salted butter freezes well for up to 9 months.
- If you want a butter that is easier to spread, beat the butter until it is thoroughly combined with a tablespoon or two of vegetable or olive oil before placing it back into your food processor.
How to Make Cultured Butter?
Making cultured butter is merely a continuation of the above procedure with an additional ingredient to “culture” the cream.
Ingredients
Either 2 tablespoons of cultured buttermilk or live (probiotic) yoghurt.
1 litre of pure cream
Method
After adding the yoghurt or buttermilk, pour the cream into a glass container that has been sterilized (for instructions on how to do this, click here).
- Place the lid on and leave at room temperature for 12 to 24 hours. The longer you leave it, the stronger the flavor of the butter will be. This will culture the cream.
- Chill the mixture for 2 hours (this will allow the butter granules to form more easily)
- Observe the directions above to make butter.
- Remember to add the salt at the very end if you intend to bake with the leftover buttermilk.
The buttermilk from this batch will be cultured buttermilk. It has an increased acidity which is the type of buttermilk used for recipes that call for it in baking recipes.
- The next time you make butter, you can culture it using some of this cultured buttermilk.
- The buttermilk freezes well for up to three months and can be kept for up to five days in the refrigerator.
Alternatives
Herbs in Homemade Butter Once the butter has softened, you must add the herbs and spices. The butter will soften most effectively if it is allowed to warm to room temperature on the counter for a short period of time. Use an electric mixer and add the extra ingredients. Here are some ideas:
- Garlic – Use garlic butter on a slice of toast, a steak, or even an egg. It’s heavenly!
- Chives – Chop up some chives and add them to the butter. With vegetables or a baked potato, this is excellent.
- Sage – I like to add sage and use with seafood. It’s truly amazing! A freshly baked biscuit also tastes good with it.
- Basil – This is a favorite to add to chicken or eggs! I love the flavor it gives my food, and it goes so well with the creamy butter.
There are many other flavors you can add to the butter. It’s crucial to remember that you must wait for the butter to fully ingest these flavors before using it. You decide. Whenever possible, I like to let mine sit for 3–4 hours.
Final Words
Please let me know if you have any fun making butter and if you need anything to go with it. I’d be curious to hear your thoughts if you try making your own butter.
Recipe FAQs
How Long Does Homemade Butter Last?
The length of time homemade butter will stay fresh depends on how well the buttermilk is extracted. Homemade butter can be stored in the refrigerator for up to two to three weeks before going bad if there is still a significant amount of buttermilk.
Can I Use Buttermilk for Other Recipes?
Yes! If you’re like me and hate wasting anything, then you will love this idea.
Use it to make baked goods, salad dressings, fried chicken, pancakes, and waffles. Experiment with new ideas. You can also freeze it for later. Pour it into an ice cube tray so it’s in convenient sizes whenever a recipe requires some. Just let it defrost overnight in the refrigerator before incorporating it into all of your favorite dishes.
When buttermilk spoils, you’ll notice that it smells awful and becomes chunkier. The homemade buttermilk’s color will also alter. It’s best to pour something out if you ever notice anything strange.
Do You Have to Rinse Homemade Butter?
Yes, while it seems like something you could skip, rinsing the homemade butter is vital to making it last. When you rinse the butter, you are removing any extra buttermilk, so it doesn’t become rancid quickly.